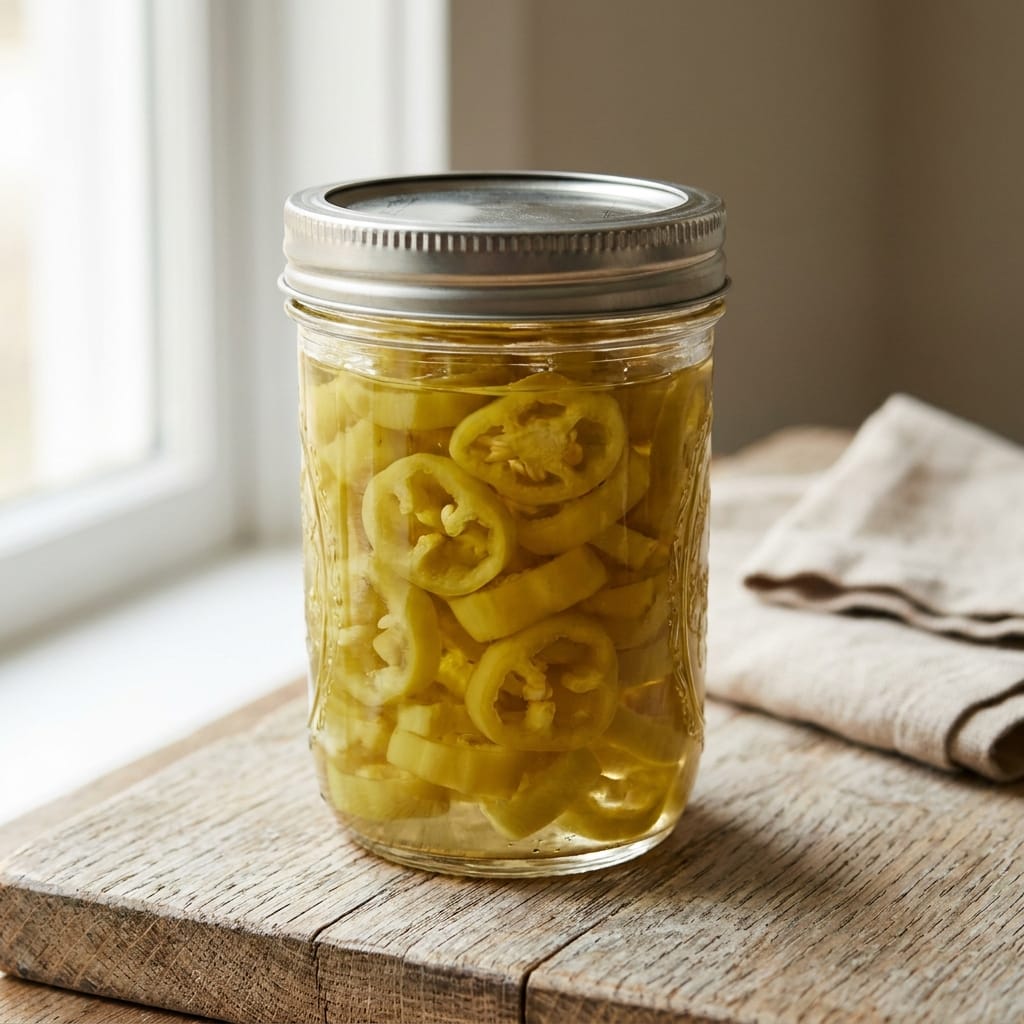
So Easy Pickled Banana Peppers (Canning Instructions)
Why You’ll Love This Recipe
I remember the first time I tried to can pickled banana peppers. I was so nervous about making someone sick that I boiled the jars for way too long. The peppers turned into a mushy, sad mess. It was a total waste of a beautiful farmer’s market haul. That experience taught me that canning doesn’t have to be scary. It just needs the right, clear instructions.
This recipe for So Easy Pickled Banana Peppers (Canning Instructions) is the result of that learning curve. I wanted a method that was foolproof and produced peppers with a serious crunch. The trick is a cold pack method and a very precise brine ratio. You get that perfect tangy, slightly sweet flavor that makes these peppers irresistible on everything from sandwiches to salads. It is a very satisfying project for a weekend afternoon.
The science behind pickling is actually fascinating. The vinegar creates an acidic environment that prevents harmful bacteria from growing, which is what allows for safe home canning. Understanding this makes the process feel less like a chore and more like a kitchen superpower. I promise, once you see those jars seal with a satisfying pop, you will feel like a total pro.
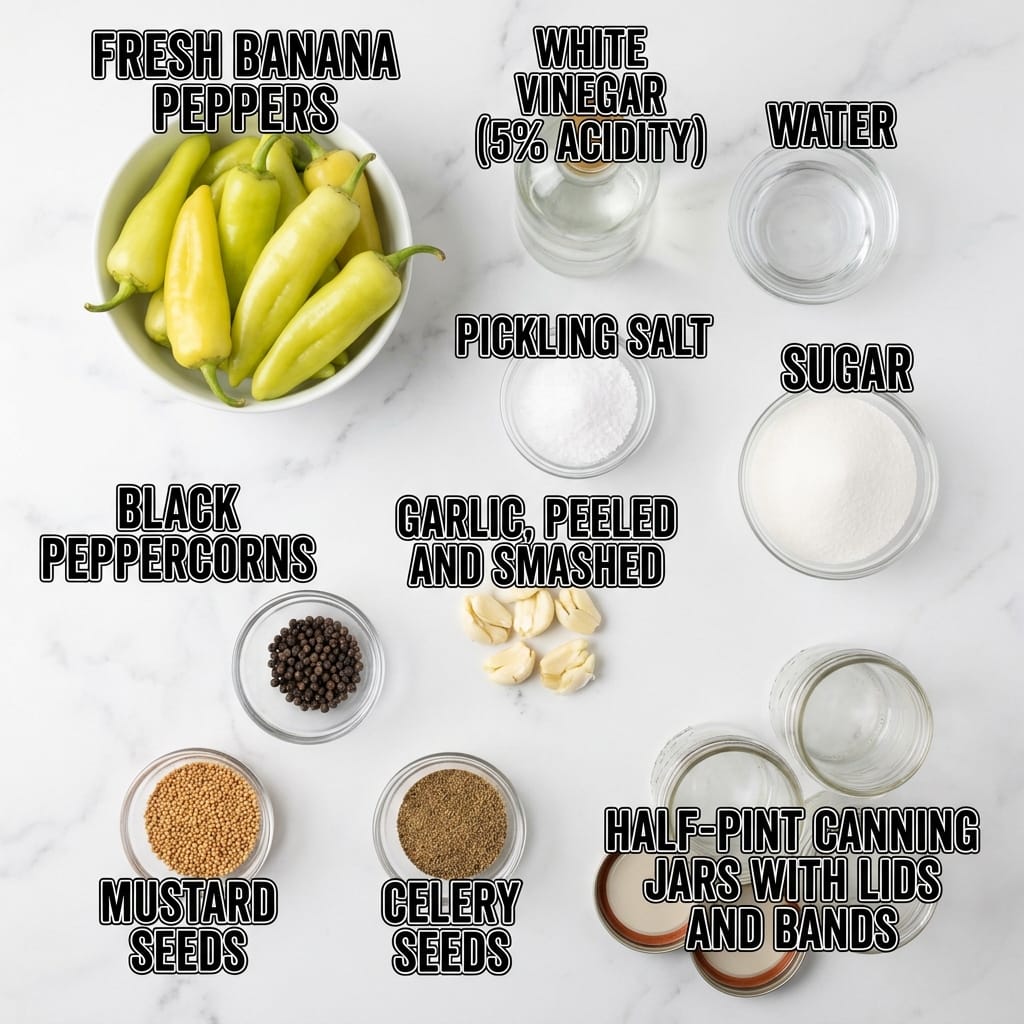
Ingredients
- 3 pounds fresh banana peppers (about 12-15 medium peppers)
- 3 cups white vinegar (5% acidity)
- 2 cups water
- 2 tablespoons pickling salt
- 2 tablespoons sugar
- 4 cloves garlic, peeled and smashed
- 2 teaspoons black peppercorns
- 1 teaspoon mustard seeds
- 1 teaspoon celery seeds
- 4 half-pint canning jars with lids and bands
Step-by-Step Directions
- First, get your jars really clean. Wash them in hot soapy water or run them through the dishwasher on the sanitize cycle. Place the clean jars on a baking sheet and put them in a 200 degree F oven to keep them hot. Put the lids in a small saucepan of hot water, not boiling, to soften the sealing compound.
- While the jars are heating up, wash your banana peppers. I like to slice them into rings that are about 1/4 inch thick. Make sure you wear gloves for this step. The oils from the peppers can really burn your hands, especially if you touch your eyes later. It is a mistake I only made once.
- Grab a large stainless steel pot. Combine the white vinegar, water, pickling salt, and sugar. Stir it over high heat until the salt and sugar are completely dissolved. You want this brine to come to a full, rolling boil.
- Now, pack the hot jars. Take a hot jar out of the oven. Stuff it with the sliced pepper rings, leaving about a 1/2 inch of empty space at the top. Tuck in a smashed garlic clove, some black peppercorns, mustard seeds, and celery seeds into each jar. Try to distribute the spices evenly.
- Ladle the boiling brine into the jars over the peppers. You want to cover the peppers completely, but keep that 1/2 inch of headspace. Use a chopstick or a plastic knife to gently poke around the inside of the jar to release any trapped air bubbles. This is a super important step for a safe seal.
- Wipe the rim of each jar with a clean, damp paper towel. This removes any sticky brine that could prevent the lid from sealing. Center a lid on the jar and screw on the band until it is just fingertip tight. Do not crank it down as hard as you can.
- Place the jars into your water bath canner. Make sure they are covered by at least 1 to 2 inches of water. Bring the water to a full boil, then start your timer. Process the jars for 10 minutes for half-pints at sea level. If you live at a higher altitude, you will need to adjust the processing time.
- After 10 minutes, turn off the heat. Use your jar lifter to carefully remove the jars and place them on a clean kitchen towel on the counter. Leave them alone for 12 to 24 hours. You will hear the lids start to pop as they seal. That sound is pure kitchen victory. Do not touch the lids to check the seal until they have fully cooled.
Pro Tips for Success
The most important thing for crunchy pickled peppers is to not overcook them. The 10 minute processing time is really all they need. If you boil them for longer, the pectin in the peppers will break down and they will turn soft. Stick to the timer.
Using the correct vinegar is non-negotiable for safe canning. You must use vinegar with 5% acidity. Distilled white vinegar is my go-to because it has a clean, sharp flavor that does not overpower the peppers. You can learn more about the role of acid in food preservation to understand why this is so critical.
Do not skip the step of removing air bubbles. Trapped air can create a pocket that prevents a proper seal. I always use a long plastic chopstick for this. It is gentle on the glass and fits perfectly down the sides of the jar. A good seal is what makes your pantry shelf stable.
Servings and Timing
This recipe for So Easy Pickled Banana Peppers (Canning Instructions) yields 4 half-pint jars. The active prep time is about 20 minutes, and the total time from start to finish, including processing and cooling, is about 24 hours. The peppers need at least 2 weeks in the jar to fully develop their flavor, so plan ahead.
Variations and Substitutions
If you want a sweeter pickled pepper, you can double the sugar in the brine. For a spicier kick, add a whole dried red chili or a pinch of red pepper flakes to each jar. You can also swap the white vinegar for apple cider vinegar, which will give the peppers a slightly fruitier, more mellow tang. Just make sure it also has 5% acidity. If you do not have mustard seeds, you can leave them out or use dill seeds instead for a different flavor profile.

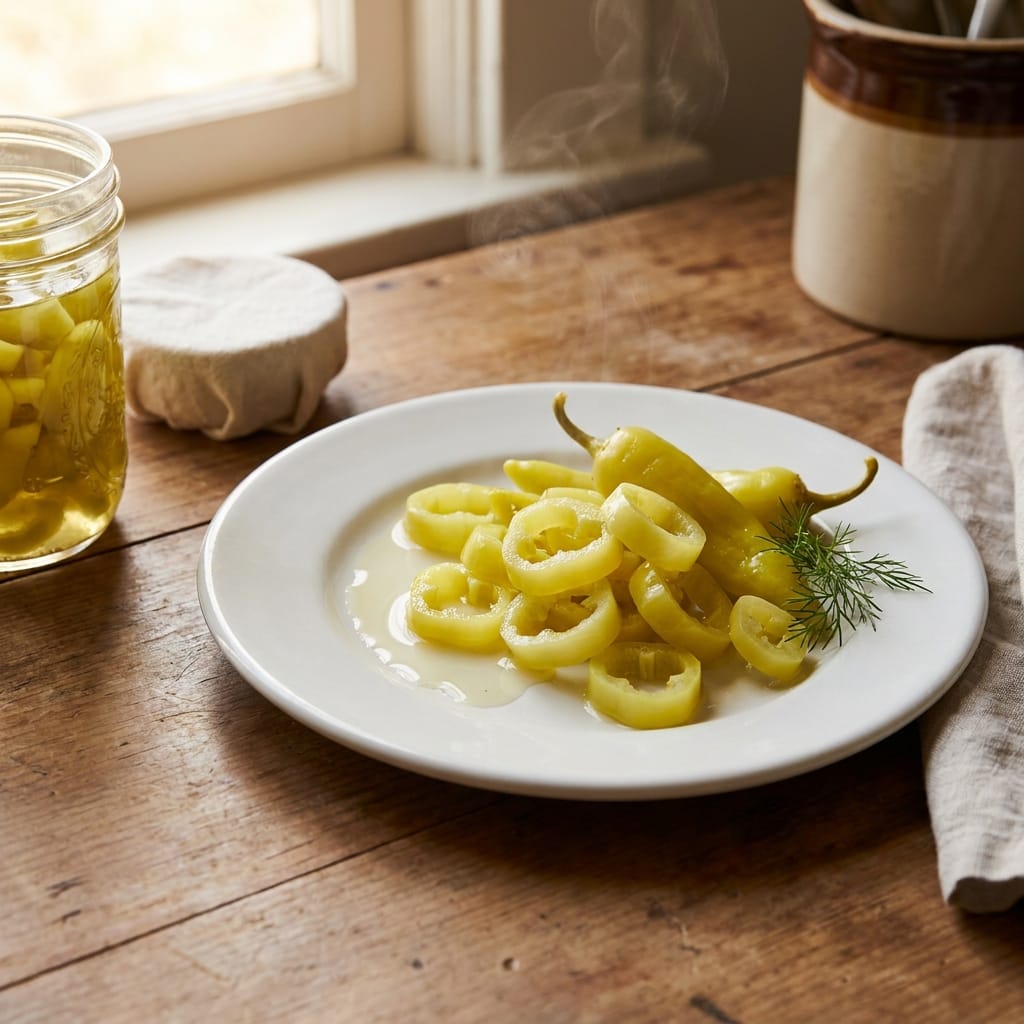
What to Serve With This
These pickled banana peppers are incredibly versatile. I love piling them high on a homemade Italian beef sandwich for that perfect acidic bite. They are also amazing chopped up and folded into a creamy classic tuna salad for a tangy crunch. You can also just eat them straight out of the jar as a snack.
Storage and Reheating
Once the jars have sealed and cooled, store them in a cool, dark place like your pantry. They will be good for up to a year. After you open a jar, you must store it in the refrigerator. The peppers will stay crisp and delicious for several weeks in the fridge. To reheat, you do not need to. These are best served cold or at room temperature.
FAQs
Can I use a different type of pepper for this recipe?
You can, but the texture and flavor will change. This recipe is specifically designed for the thin walls and mild heat of banana peppers. If you use a thicker pepper like a bell pepper, you might need to process them a little longer to get them tender. If you use a hotter pepper like a jalapeno, the spice level will be much higher, so adjust to your preference.
What happens if I forgot to put the sugar in the brine?
The sugar is there for flavor balance, not for preservation. If you forget it, your pickled peppers will be very tart and acidic. They will still be safe to eat if you processed them correctly. You can try adding a tiny pinch of sugar to your jar after you open it to balance the flavor.
My jars did not seal. What did I do wrong?
This is a common frustration. Usually it means there was a tiny chip on the jar rim, a speck of food on the rim, or the lid was not on tight enough. You can reprocess the jars within 24 hours using a new lid, or just store them in the refrigerator and eat them within a few weeks. It is not a failure, it is just a refrigerator pickle situation.
Can I double this recipe for So Easy Pickled Banana Peppers (Canning Instructions)?
Absolutely. You can easily double or triple the brine and the peppers. Just make sure you do not overcrowd your water bath canner. You need the water to circulate freely around every jar. If you have a lot of jars, process them in batches.
Why are my pickled banana peppers floating in the jar?
This is totally normal. Air gets trapped inside the pepper rings and between the slices. As the jars cool and the vacuum seal forms, some peppers can float to the top. It does not affect the safety or the taste at all. They will eventually settle down.

Conclusion
Making your own pickled peppers is one of the most rewarding kitchen projects. I love seeing those golden rings lined up in my pantry, knowing I made them myself. This So Easy Pickled Banana Peppers (Canning Instructions) recipe is the one I turn to every single summer. I really hope you give it a try and see how simple and satisfying it is. Let me know in the comments how your batch turns out.
 | ||||||||||||||||||||||||||||||||||||||||||||||||||||||