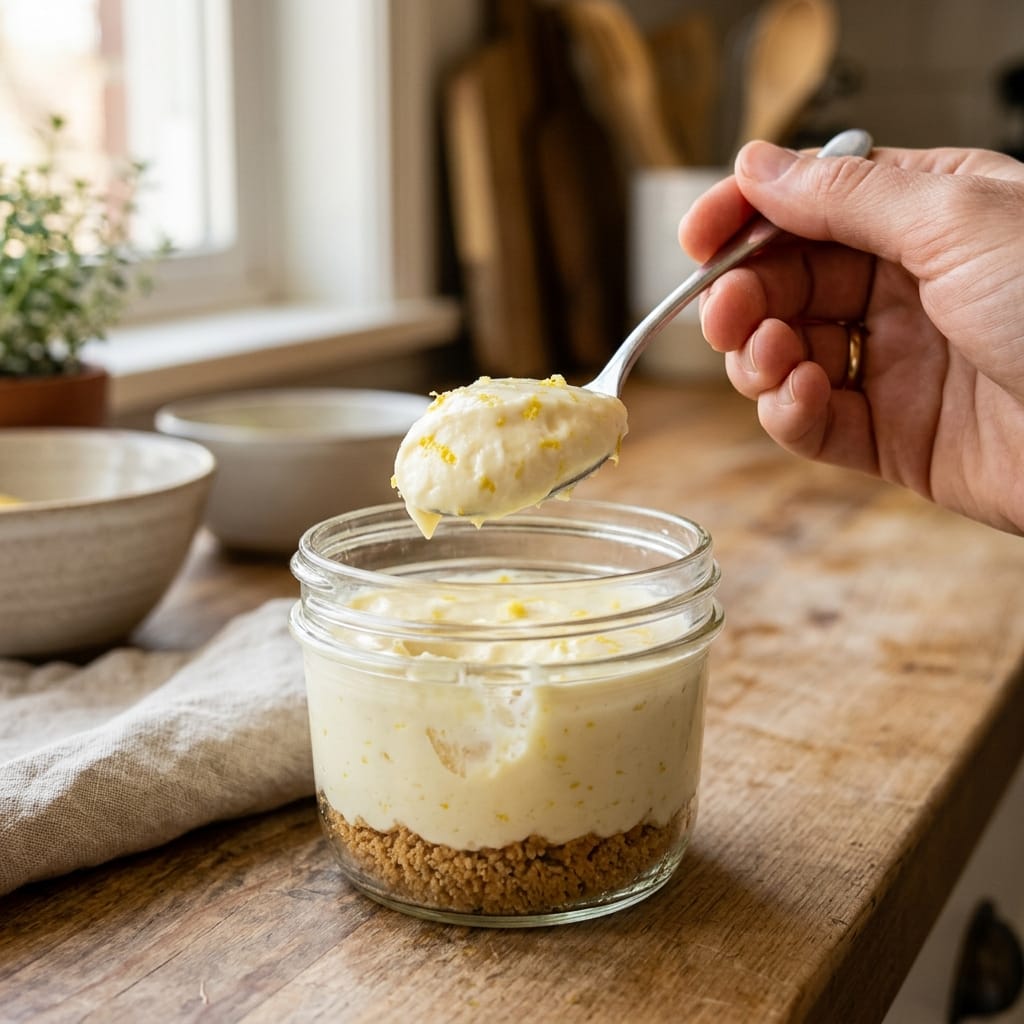
Best No-Bake Lemon Yogurt Cheesecake Jars
Why You’ll Love This Recipe
I absolutely adore these No-Bake Lemon Yogurt Cheesecake Jars because they deliver all the creamy, tangy goodness of a classic cheesecake without the hassle of baking or the heavy feeling. They are incredibly easy to whip up, perfect for warm weather, and the individual jar servings make them ideal for parties or a quick weeknight treat. The bright lemon flavor paired with the cool yogurt creates a refreshing dessert that feels both indulgent and light.
Ingredients
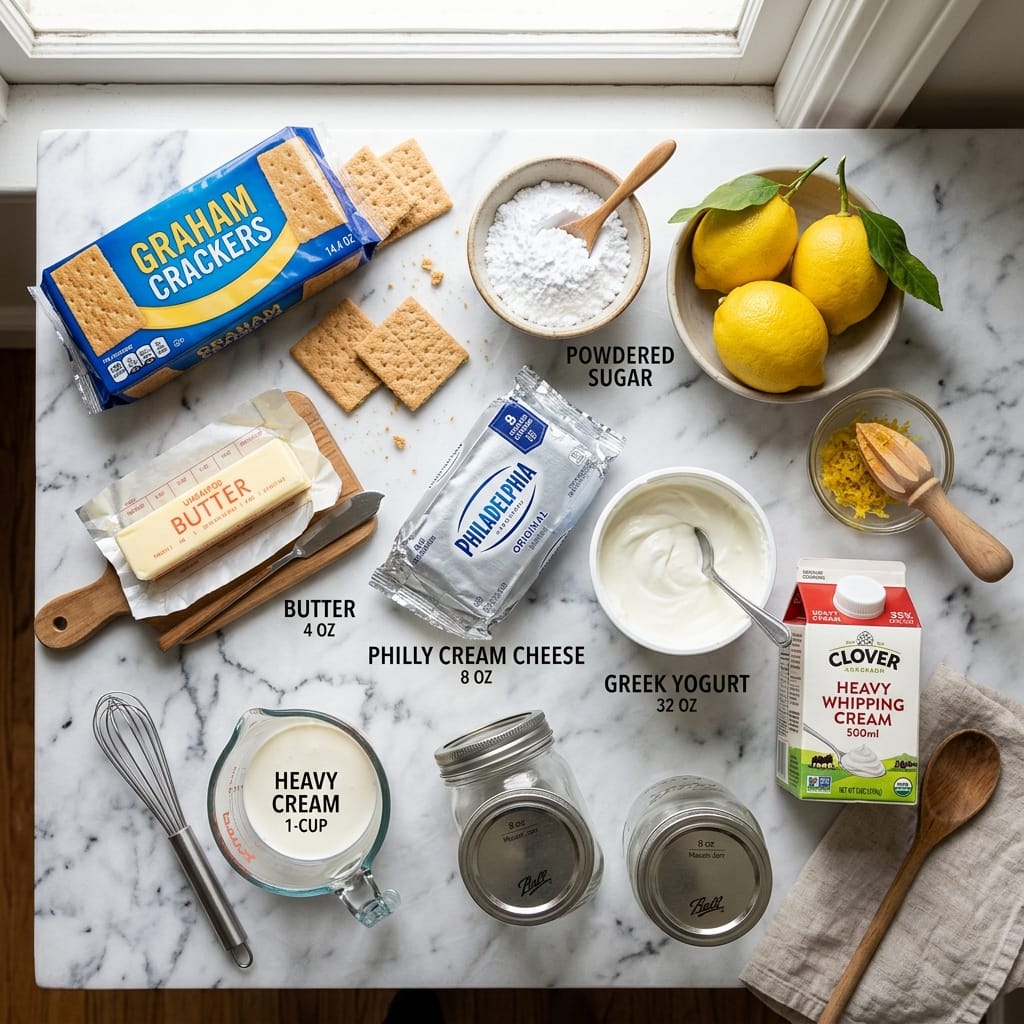
- 1 1/2 cups graham cracker crumbs
- 1/4 cup granulated sugar
- 1/2 cup unsalted butter, melted
- 8 ounces cream cheese, softened
- 1/2 cup plain Greek yogurt
- 1/2 cup granulated sugar
- 1/4 cup fresh lemon juice
- 1 tablespoon lemon zest
- 1 teaspoon vanilla extract
- 1/2 cup heavy cream, cold
Directions
To start, prepare the crust by combining the graham cracker crumbs and 1/4 cup sugar in a small bowl. Pour in the melted butter and stir with a fork until the mixture is fully moistened and resembles wet sand. Divide the crust evenly among four 8-ounce jars or small glasses, pressing it firmly into the bottom of each. Set the jars aside while you prepare the filling.
In a large mixing bowl, beat the softened cream cheese with an electric mixer until smooth and fluffy. Add the Greek yogurt, remaining 1/2 cup sugar, lemon juice, lemon zest, and vanilla extract. Beat on medium speed until the mixture is well combined and silky. In a separate bowl, whip the heavy cream until stiff peaks form. Gently fold the whipped cream into the cream cheese mixture until just combined, being careful not to deflate the cream.
Spoon or pipe the filling over the prepared crusts, dividing it evenly among the jars. Smooth the tops with a spatula. Cover the jars with plastic wrap or lids and refrigerate for at least 4 hours, but preferably overnight, until the filling is firm and set. Before serving, you can garnish with extra lemon zest, fresh berries, or a dollop of whipped cream if desired.
Servings and Timing
This recipe yields 4 servings of No-Bake Lemon Yogurt Cheesecake Jars. The prep time is about 20 minutes, and the chilling time is a minimum of 4 hours, so plan accordingly. The total time from start to finish is 4 hours and 20 minutes, making it a wonderful make-ahead dessert.
Variations
For a different twist, you can substitute the graham cracker crust with crushed vanilla wafers or shortbread cookies. If you want a dairy-free version, use a vegan cream cheese and a dairy-free yogurt alternative. To add more texture, fold in some fresh blueberries or raspberries into the filling before layering. For a stronger lemon kick, add an extra teaspoon of lemon zest or a few drops of lemon extract.
Storage and Reheating
Store any leftover No-Bake Lemon Yogurt Cheesecake Jars in the refrigerator, covered, for up to 3 days. These jars are best enjoyed cold, so there is no need to reheat them. If you want to freeze them, wrap each jar tightly in plastic wrap and freeze for up to 1 month. Thaw in the refrigerator overnight before serving.
FAQs
Can I use low-fat yogurt for this recipe?
Yes, you can use low-fat Greek yogurt, but the texture may be slightly less creamy. Full-fat yogurt will give you the richest, most luscious results.
How long do these jars need to set?
They need to chill for at least 4 hours, but overnight is ideal for the best texture and flavor development.
Can I make these No-Bake Lemon Yogurt Cheesecake Jars ahead of time?
Absolutely! They are perfect for meal prep or entertaining. You can make them up to 2 days in advance and keep them covered in the refrigerator.
What if I don’t have heavy cream?
You can substitute the heavy cream with an equal amount of full-fat coconut cream for a dairy-free option, or use a stabilized whipped topping like Cool Whip.
How do I prevent the crust from getting soggy?
Make sure to press the crust firmly into the jars and chill the jars before adding the filling. Also, avoid overmixing the crust mixture, as too much butter can make it greasy.

Conclusion
I hope you love these No-Bake Lemon Yogurt Cheesecake Jars as much as I do. They are a simple, elegant, and incredibly satisfying dessert that never fails to impress. For another easy no-bake treat, check out my No-Bake Chocolate Mousse Jars. And if you are in the mood for a baked classic, try my Classic Lemon Cheesecake. The key to the tangy lemon flavor is using fresh lemons, and the creamy texture comes from the yogurt. Enjoy making these delightful jars!
PrintBest No-Bake Lemon Yogurt Cheesecake Jars

Discover the ultimate No-Bake Lemon Yogurt Cheesecake Jars recipe. Creamy, tangy, and easy to make, these individual desserts are perfect for any occasion. Get the recipe now!
- Prep Time: 20 minutes
- Cook Time: 0 minutes
- Total Time: 4 hours 20 minutes (includes chilling)
- Yield: 4 servings
- Category: Dessert
- Method: No-Bake
- Cuisine: American
- Diet: Vegetarian
Ingredients
– 1 1/2 cups graham cracker crumbs
– 1/4 cup granulated sugar
– 1/2 cup unsalted butter, melted
– 8 ounces cream cheese, softened
– 1/2 cup plain Greek yogurt
– 1/2 cup granulated sugar
– 1/4 cup fresh lemon juice
– 1 tablespoon lemon zest
– 1 teaspoon vanilla extract
– 1/2 cup heavy cream, cold
Instructions
1. Combine graham cracker crumbs and 1/4 cup sugar. Stir in melted butter until moistened.
2. Divide crust among 4 jars, pressing firmly into the bottom.
3. Beat cream cheese until smooth. Add yogurt, remaining sugar, lemon juice, zest, and vanilla. Mix until combined.
4. Whip heavy cream to stiff peaks. Fold into cream cheese mixture.
5. Spoon filling over crusts. Smooth tops.
6. Cover and refrigerate for at least 4 hours or overnight.
7. Garnish and serve cold.
Notes
For a dairy-free option, use vegan cream cheese and coconut cream. Jars can be stored in the fridge for up to 3 days.