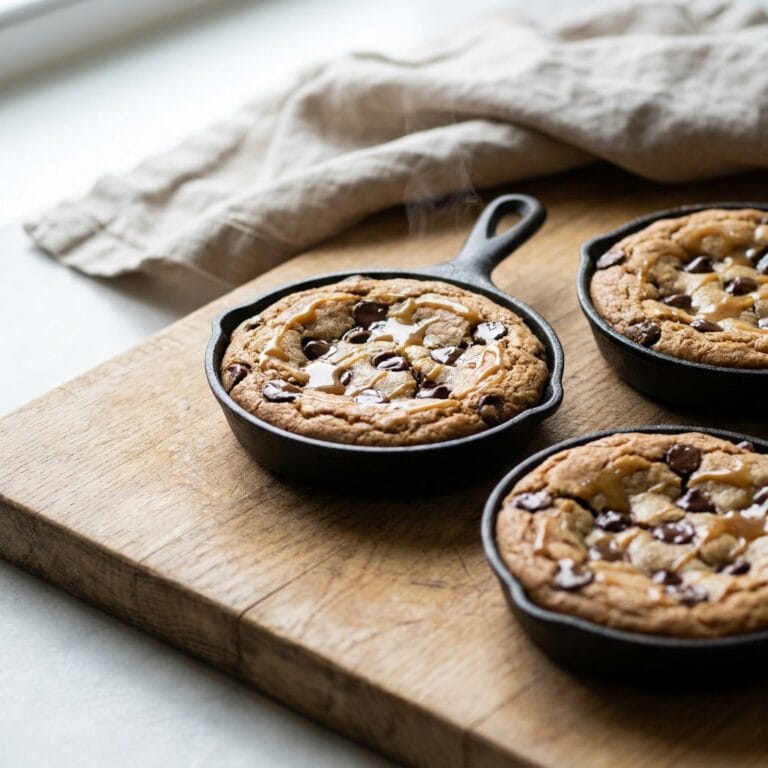
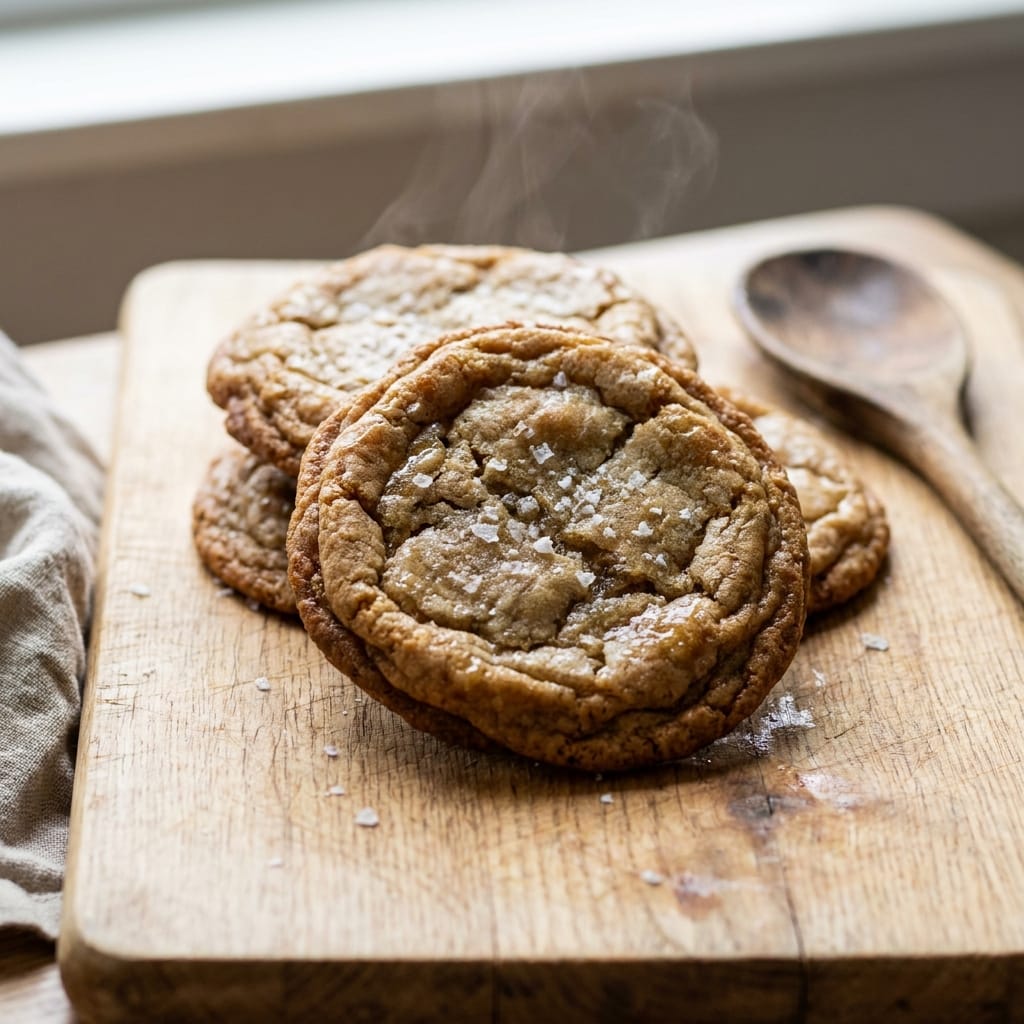
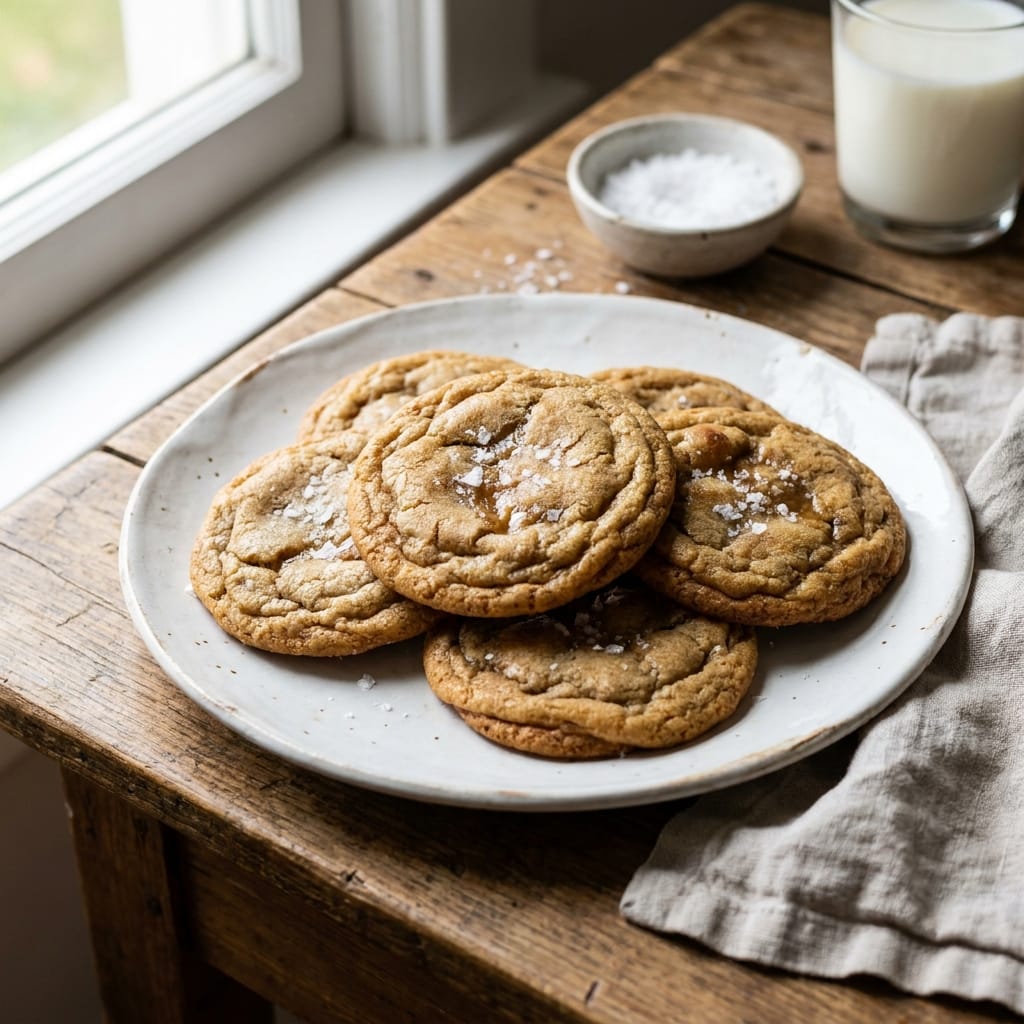
Chewy Salted Brown Butter Cookies
Why You’ll Love This Recipe
I have a bit of an obsession with brown butter. I love how it turns a simple cookie into something that tastes like it came from a fancy bakery. But for the longest time, my attempts at Chewy Salted Brown Butter Cookies were a disaster. They would come out of the oven looking perfect, only to turn into hard, flat discs an hour later. It was heartbreaking.
I spent months testing different ratios of butter to sugar, different flour types, and chilling times. I finally cracked the code. The secret is not just in browning the butter, but in how you handle the dough. The process of browning butter removes water, which changes the cookie’s structure. You have to add that water back in to keep things chewy. I learned the science behind this from reading about the Maillard reaction and how it affects flavor. These cookies are the result of all that trial and error. They are the perfect balance of nutty, salty, and sweet with a texture that stays soft for days.
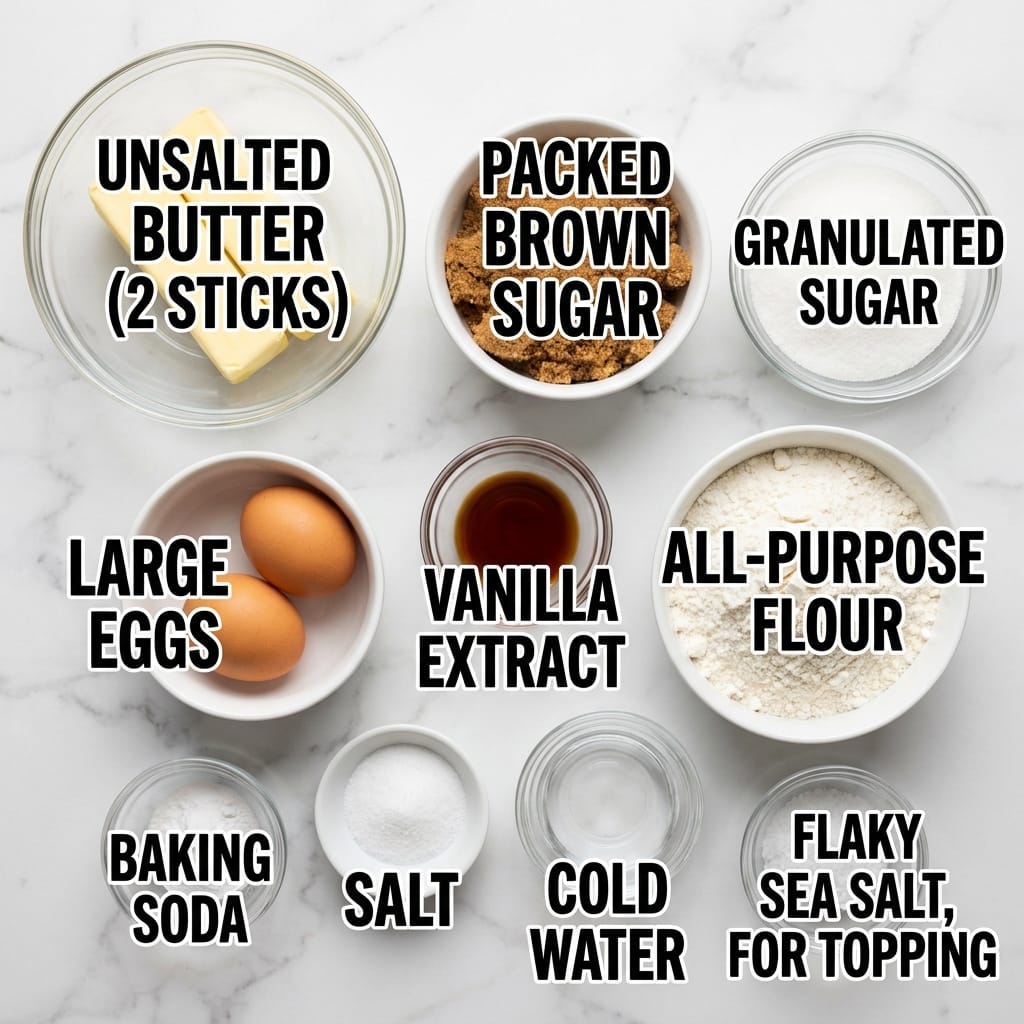
Ingredients
- 1 cup (2 sticks) unsalted butter
- 1 1/2 cups packed brown sugar
- 1/4 cup granulated sugar
- 2 large eggs
- 2 teaspoons vanilla extract
- 2 1/4 cups all-purpose flour
- 1 teaspoon baking soda
- 1/2 teaspoon salt
- 1 tablespoon cold water
- Flaky sea salt, for topping
Step-by-Step Directions
- **Brown the butter.** Put the butter in a light-colored saucepan over medium heat. Swirl the pan often. The butter will melt, then foam, then start to crackle. Watch closely. When the crackling stops and you see brown specks forming at the bottom, and it smells like hazelnuts, take it off the heat immediately. Pour it into a large heatproof bowl to stop it from burning. Let it cool for 10 minutes.
- **Mix the wet ingredients.** Add both sugars to the warm brown butter. Stir vigorously with a wooden spoon for about a minute. The mixture will look like wet sand. Crack in the eggs and add the vanilla. Stir until it is completely smooth and glossy. This is where you add the 1 tablespoon of cold water. This is the trick to replace the water lost during browning, which is what gives you that chewy texture.
- **Combine the dry ingredients.** In a separate bowl, whisk the flour, baking soda, and salt together. Dump this into the wet mixture. Fold it gently with a rubber spatula until just combined. You should see a few streaks of flour left. Do not overmix.
- **Chill the dough.** Cover the bowl with plastic wrap and put it in the fridge for at least 2 hours. This is not optional. Chilling solidifies the butter, which prevents the cookies from spreading too much in the oven. It also gives the flavors time to meld together.
- **Bake the cookies.** Preheat your oven to 350 degrees F. Line two baking sheets with parchment paper. Scoop the dough using a 2-tablespoon cookie scoop. Place them 2 inches apart. Bake for 10 to 12 minutes. The edges should be golden brown and the centers should look slightly underdone and puffy.
- **Finish with salt.** As soon as the cookies come out of the oven, sprinkle a few flakes of sea salt on top of each one. Let them cool on the baking sheet for 5 minutes. The residual heat will finish baking the center. Then transfer them to a wire rack to cool completely.
Pro Tips for Success
The most important step is browning the butter correctly. If you don’t watch it closely, it can go from perfect to burnt in seconds. I recommend using a light-colored pan so you can actually see the brown milk solids forming. The smell is your best clue. It should smell intensely nutty and toasty. This process is a great example of the Maillard reaction in action.
Do not skip the chilling step. I know it is annoying to wait, but it makes a huge difference. Warm dough will spread into thin, crispy pancakes. Chilled dough bakes up thick and chewy. For the best results, I always chill the dough for at least 2 hours, but overnight is even better.
Use a cookie scoop for uniform cookies. This ensures they all bake at the same rate. If you roll them by hand, you will end up with some overcooked and some undercooked. A scoop is a small investment that makes a big difference in consistency.
Servings and Timing
This recipe makes about 24 Chewy Salted Brown Butter Cookies. The total time is about 3 hours, but most of that is inactive chilling time. The active prep takes about 20 minutes, and the baking takes about 12 minutes per batch.
Variations and Substitutions
You can easily adapt these cookies to your taste. For a chocolate version, fold in 1 cup of dark chocolate chips or chopped chocolate chunks right before chilling. If you want a nuttier flavor, add 1/2 cup of toasted chopped pecans or walnuts. For a gluten-free version, replace the all-purpose flour with a 1-to-1 gluten-free baking flour blend. Just make sure it contains xanthan gum. You can also swap the brown sugar for coconut sugar, but the texture will be slightly less chewy and more crumbly.

What to Serve With This
These cookies are perfect on their own, but they are even better with a cold glass of milk. For a real treat, I love to serve them alongside a scoop of vanilla bean ice cream. If you are looking for another dessert to make, check out my recipe for No-Churn Vanilla Ice Cream. It is the perfect companion. And if you want a sweet breakfast to use up any leftover cookies, try my Cookie Dough Pancakes. They are a family favorite.
Storage and Reheating
Store the Chewy Salted Brown Butter Cookies in an airtight container at room temperature. They will stay soft and chewy for up to 5 days. To keep them extra soft, place a slice of bread in the container. The bread will absorb excess air and release moisture to the cookies. If you want to make the dough ahead of time, you can freeze the scooped dough balls on a baking sheet, then transfer them to a freezer bag. Bake them directly from frozen, adding 2 to 3 minutes to the baking time.
FAQs
Can I use salted butter instead of unsalted?
Yes, you can. If you use salted butter, simply omit the 1/2 teaspoon of salt that you add to the dry ingredients. The cookies will still have the perfect salty-sweet balance.
What if I don’t have a light-colored saucepan?
Use the heaviest pot you have. A dark pan makes it very hard to see the brown milk solids, so you have to rely entirely on the smell and the sound. When the crackling stops, pull it off the heat immediately.
My cookies spread into flat puddles. What went wrong?
This usually happens because the dough was not chilled long enough. The butter was too warm when it hit the oven. It could also mean you used too much sugar or not enough flour. Make sure you measure your flour correctly by spooning it into the measuring cup and leveling it off.
Can I make these cookies without an electric mixer?
Yes, absolutely. This recipe is designed to be mixed by hand with a wooden spoon or a strong rubber spatula. It is actually better to mix by hand because you are less likely to overmix the dough.
What happens if I leave the dough in the fridge for 48 hours?
That is actually ideal. A longer chill time deepens the flavor even more. The cookies will be slightly denser but incredibly flavorful. Just let the dough sit at room temperature for 10 minutes before scooping if it feels too hard.

Conclusion
I hope you love these Chewy Salted Brown Butter Cookies as much as my family does. They are the result of a lot of happy mistakes and careful testing. The nutty brown butter paired with the crunchy salt flakes creates a cookie that is truly unforgettable. Please let me know in the comments how yours turn out. I love hearing about your baking adventures.
 | ||||||||||||||||||||||||||||||||||||||||||||||||||