

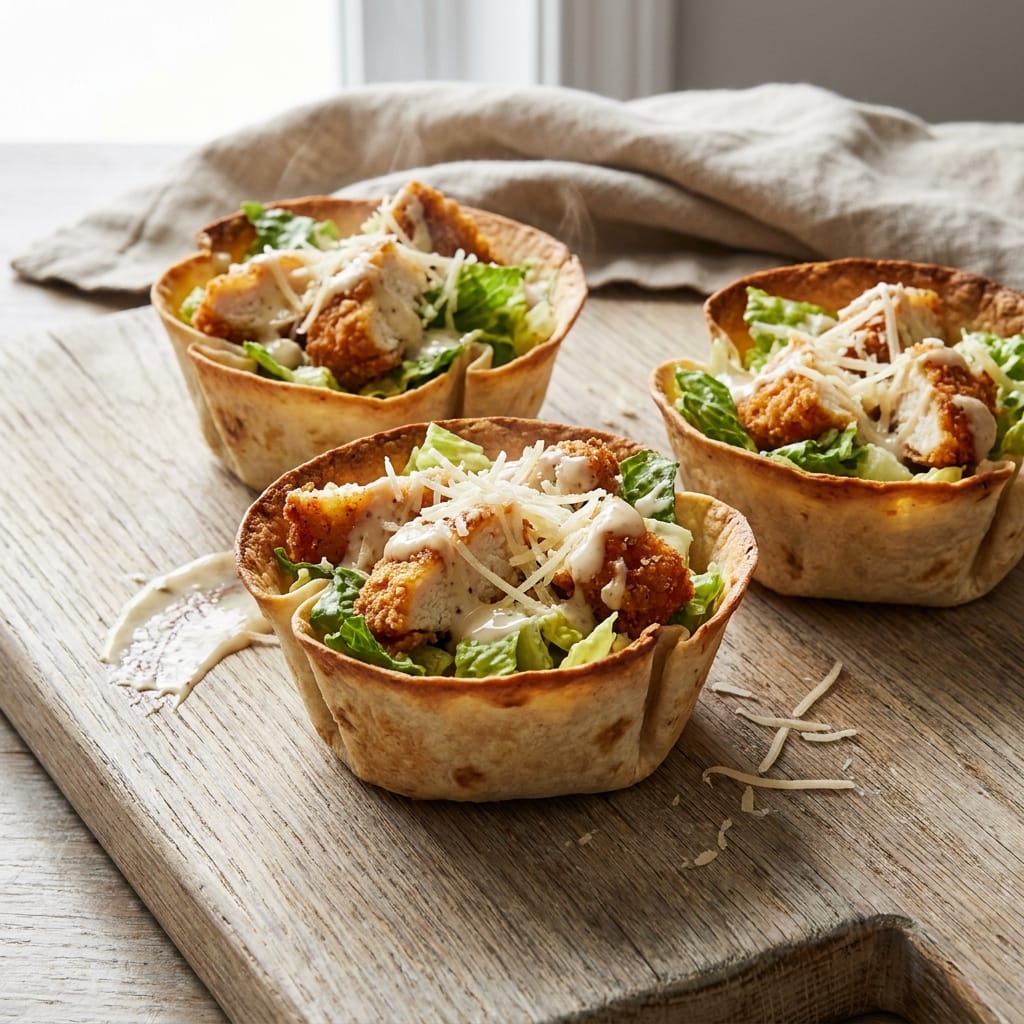
Crispy Chicken Caesar Wrap Crunch Cups
Why You’ll Love This Recipe
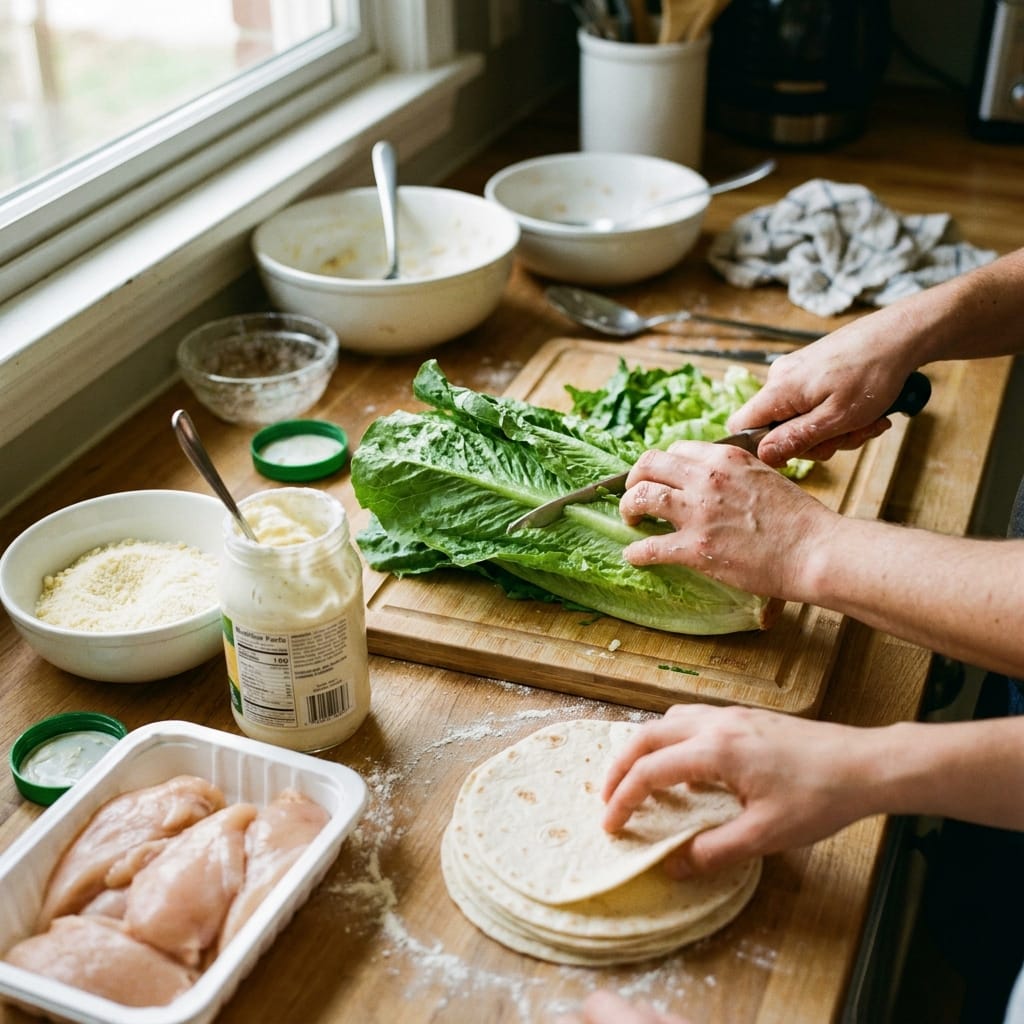
I have a deep love for a classic Caesar wrap, but I always found myself annoyed with the last few bites. The filling would spill out, the tortilla would get soggy, and I would be left chasing pieces of chicken around my plate. This frustration is exactly what led me to create these Crispy Chicken Caesar Wrap Crunch Cups. I wanted all the creamy, tangy, savory goodness of a Caesar wrap, but in a form that is completely self-contained and gloriously crunchy from the first bite to the last.
The first time I tested these, I made a huge mess. I used oversized flour tortillas that were too thick, and they puffed up into giant, uneven balloons in the muffin tin. The chicken was dry because I had overcooked it, and the whole thing fell apart. It was a disaster. But I learned from that failure. I switched to smaller, more pliable tortillas, I perfected a quick pan-sear for the chicken that keeps it juicy, and I learned the exact oven time to get the cups shatteringly crisp without burning. Now, this recipe is a staple in my house. My kids call them “crunchy salad bowls,” and they ask for them for lunch, dinner, and even as a snack for movie night. They solve the problem of a messy, falling-apart wrap by turning it into a perfect, handheld, crunchy cup.
Ingredients
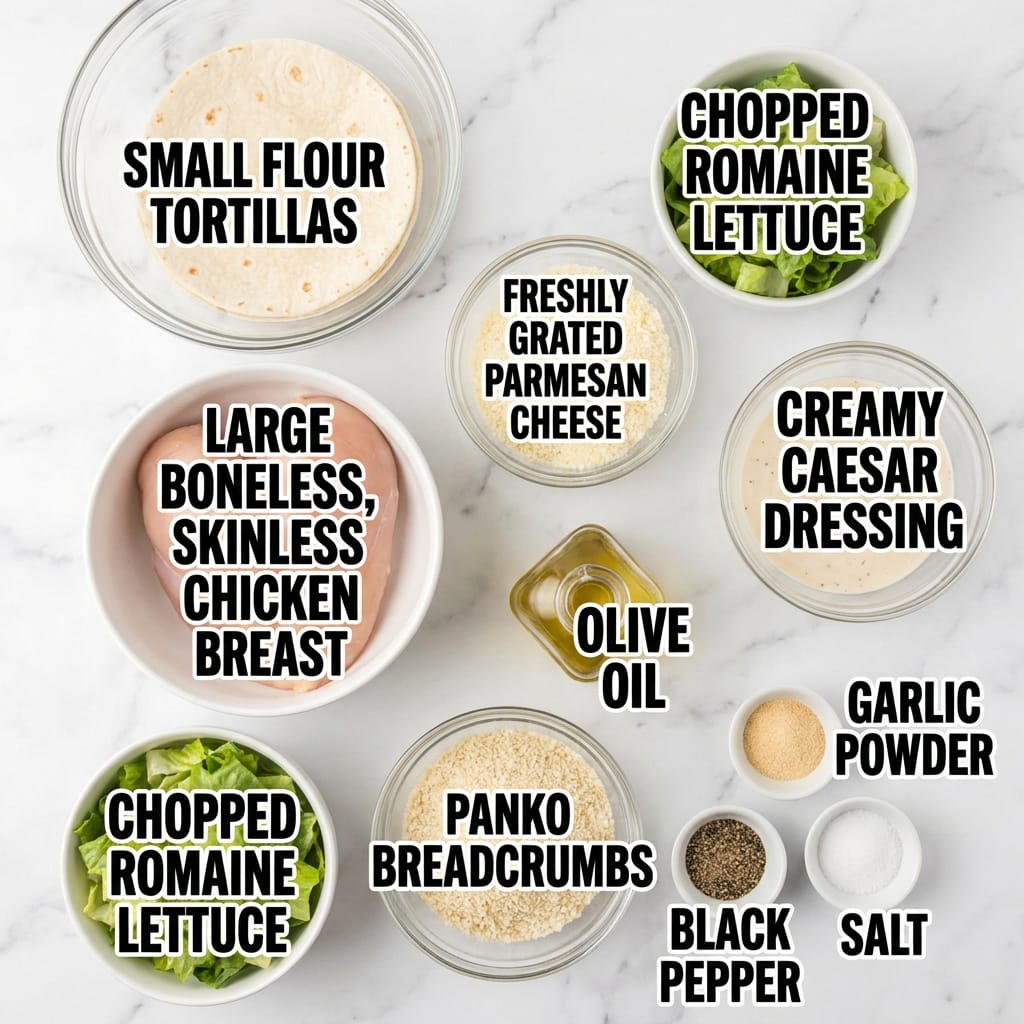
- 4 small (6-inch) flour tortillas (corn tortillas work too, but they are less pliable)
- 1 large boneless, skinless chicken breast (about 8 ounces)
- 1/2 cup freshly grated Parmesan cheese
- 1/3 cup creamy Caesar dressing (use your favorite brand or homemade)
- 2 cups chopped romaine lettuce
- 1/4 cup plain breadcrumbs (panko works best for extra crunch)
- 1 tablespoon olive oil
- 1/2 teaspoon garlic powder
- 1/2 teaspoon black pepper
- 1/4 teaspoon salt
- Optional: a squeeze of fresh lemon juice, extra Parmesan for topping
Pro Tips for Success
The most important tip I can give you is to press the tortillas firmly into the muffin tin cups. If you just lay them in, they will puff up and create a thick, doughy center instead of a thin, crispy bowl. Use a small glass or a tart shaper to push them all the way down into the corners. This ensures every surface gets evenly browned and crunchy.
Do not skip the step of searing the chicken. Poaching or boiling the chicken will make it watery, and that moisture will ruin the crispiness of your cups. A hot, fast sear in a cast iron skillet creates a beautiful golden crust and locks in the juices. Let the chicken rest for five minutes after cooking before you chop it, or all those juices will run out onto your cutting board.
Finally, toast the breadcrumbs in the same pan after you cook the chicken. Just toss them in the leftover oil and chicken fat for about a minute until they are golden. This adds a layer of nutty, savory flavor that makes the crunch factor even more incredible. It is a small step that makes a huge difference.
Servings and Timing
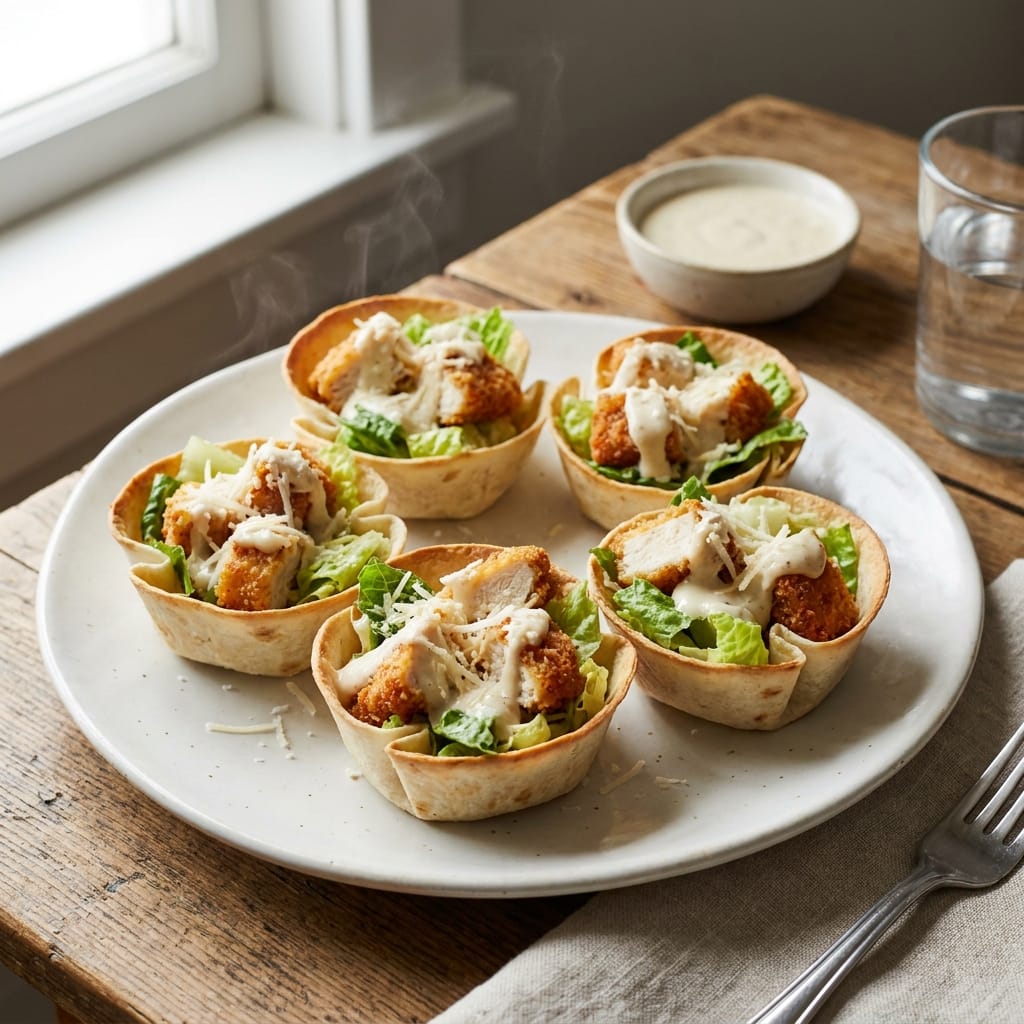
This recipe makes exactly four Crispy Chicken Caesar Wrap Crunch Cups, which is perfect for a light lunch for two people or a hearty appetizer for four. The total time is about 35 minutes. You will spend 10 minutes prepping the ingredients and assembling the cups, then 15 minutes baking them, plus about 10 minutes for the chicken to cook and rest.
Variations and Substitutions
If you want to make this a vegetarian meal, you can swap the chicken for a can of drained and rinsed chickpeas. Just toss them in olive oil and garlic powder, then roast them in the oven while the tortilla cups bake. They get wonderfully crispy on the outside and stay creamy inside. For a lower-carb version, use large collard green leaves instead of tortillas. Blanch them for 30 seconds to soften them, then press them into the muffin tin. They will not get as crispy, but they will hold their shape and taste fantastic.
You can also play with the dressing. A creamy Greek yogurt Caesar dressing cuts the calories and adds a tangy zip. Or, for a spicy kick, mix a teaspoon of sriracha into your Caesar dressing before you toss the chicken. My husband loves it when I add a handful of crispy bacon bits on top. If you are feeding a crowd, double the recipe and use a mini muffin tin to make bite-sized crunch cups. They are the perfect party finger food.
Storage and Reheating
These cups are best eaten fresh out of the oven when they are at their crispiest. However, if you have leftovers, store them in an airtight container in the refrigerator for up to two days. The tortilla cups will soften slightly from the moisture of the dressing and lettuce. To bring back the crunch, do not use a microwave. Instead, reheat them in a preheated oven at 350 degrees Fahrenheit for about 5 to 7 minutes. You can also reheat them in an air fryer at 350 degrees for 3 minutes. Just keep an eye on them so the edges do not burn.
FAQs
Can I use pre-cooked rotisserie chicken?
Absolutely, you can. It is a fantastic shortcut. Just shred the meat and skip the searing step. To make up for the lost flavor from the sear, toss the shredded chicken in a hot pan with a tablespoon of butter for two minutes before you mix it with the dressing. This will add back some of that savory richness.
What happens if I use large burrito-sized tortillas?
Do not do it. I made this mistake, and it was a disaster. Large tortillas are too thick and create a massive, puffy, doughy cup that takes forever to crisp up. The edges will burn before the center gets crunchy. Stick to small, thin tortillas. If you only have large ones, use a round cookie cutter to cut them down to 5-inch circles.
Can I cook the chicken in an air fryer instead of a pan?
Yes, and it works brilliantly. Season the chicken breast with oil, salt, and pepper, then air fry at 375 degrees Fahrenheit for 12 to 15 minutes, flipping halfway through. Let it rest, then chop it. The air fryer gives the chicken a wonderfully even, crispy exterior without needing to stand over a hot stove.
My tortilla cups puffed up like balloons. What did I do wrong?
This usually happens when you do not press the tortillas firmly enough into the muffin tin. You need to really push them down so they conform to the shape of the cup. Also, make sure you are using a standard-size muffin tin, not a jumbo one. If the cup is too wide, the tortilla has too much surface area to puff up.
Can I make these gluten-free?
Yes, just use gluten-free tortillas. Look for ones made from cassava flour or almond flour, as they tend to be more pliable and crisp up better than corn tortillas. Also, use gluten-free breadcrumbs or crushed pork rinds for the topping. The rest of the ingredients are naturally gluten-free.
Conclusion
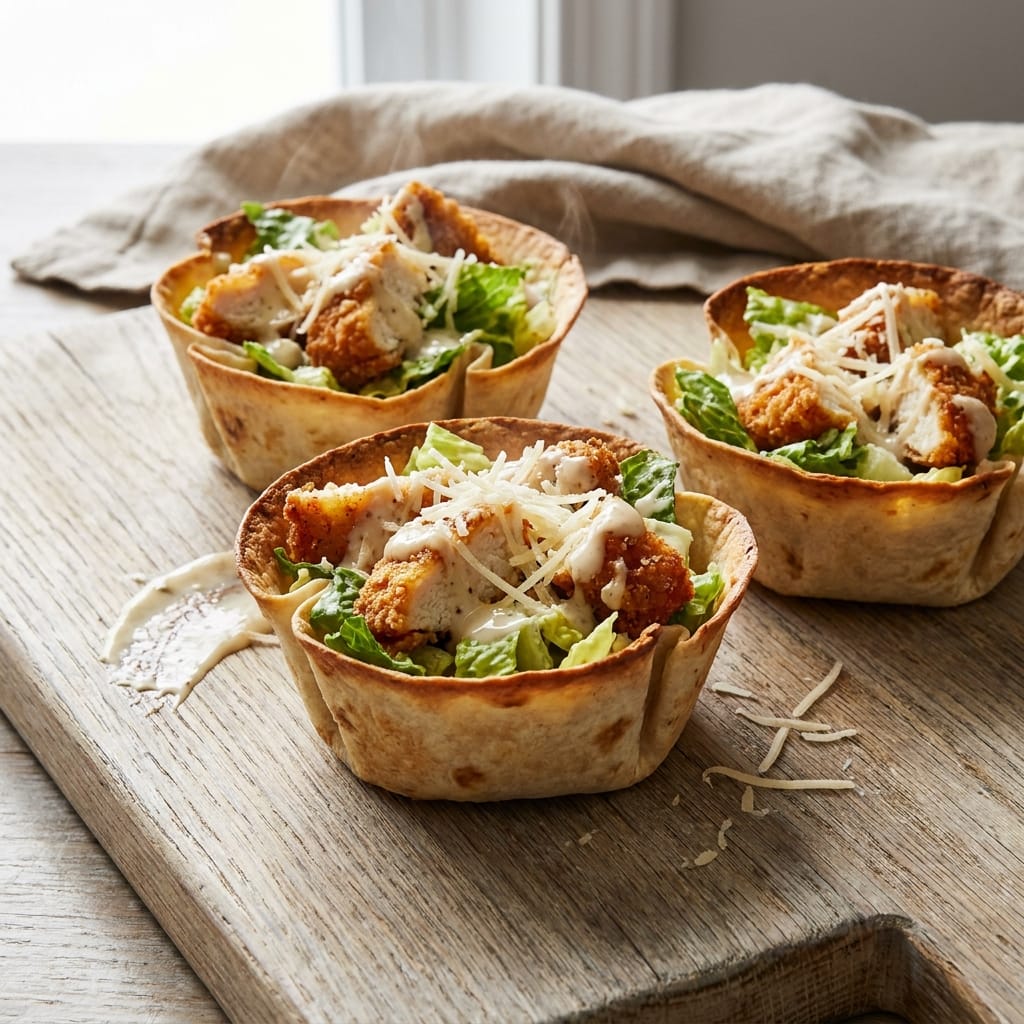
These Crispy Chicken Caesar Wrap Crunch Cups have become a regular request in my kitchen. They are fun to make, even more fun to eat, and they completely solve the problem of the soggy, falling-apart wrap. I love how the crunchy tortilla shell gives way to the cool, creamy Caesar filling. It is a textural experience that a regular wrap just cannot match. I really hope you give them a try. If you do, let me know how they turn out. And if you love this idea, you should definitely check out my recipe for Crispy Chili Crisp Smash Burger Tacos, which uses a similar crunchy shell idea. For more on the history of this classic salad, you can read about Caesar salad on Wikipedia. And if you are curious about different ways to cook chicken, the Wikipedia page on chicken as food is a great resource.
 | ||||||||||||||||||||||||||||||||||||||||||||||||||||||||||||
| ||||||||||||||||||||||||||||||||||||||||||||||||||||||||||||