
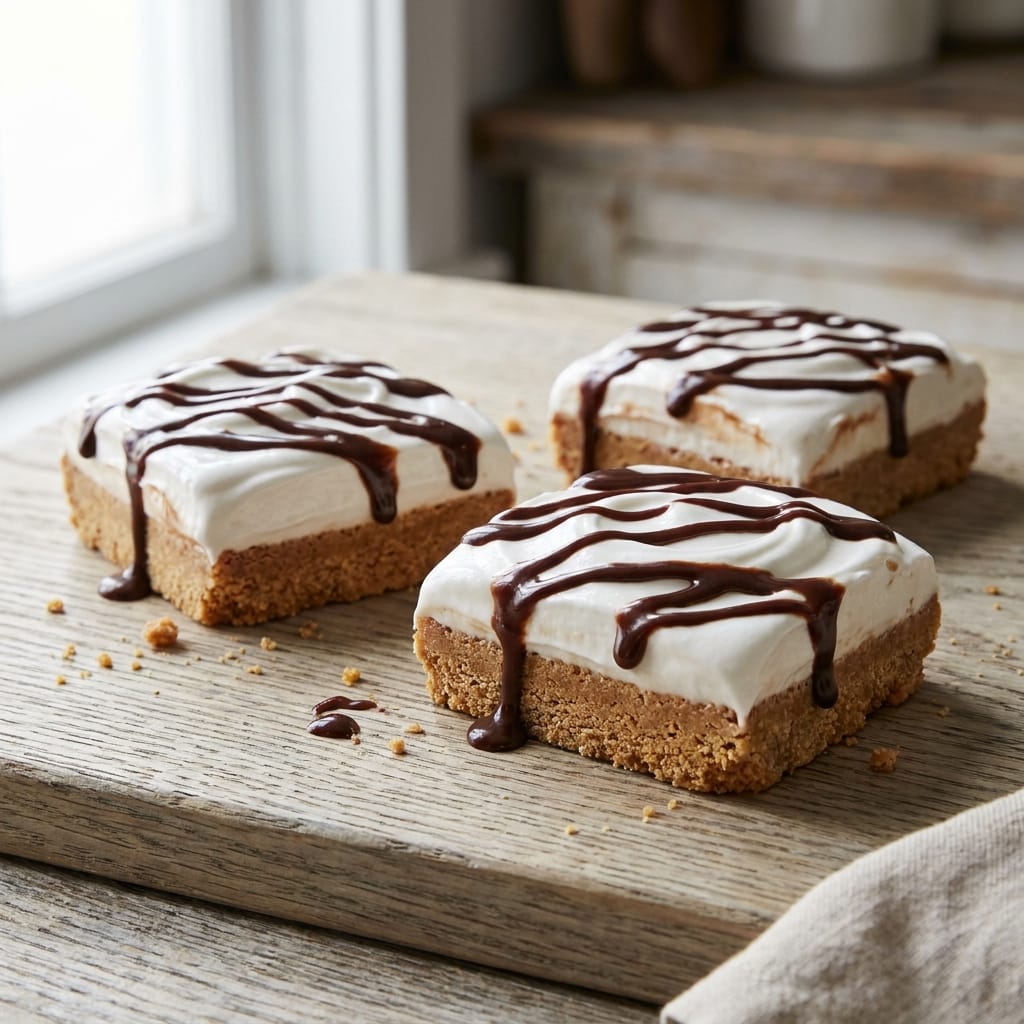
Frozen S’mores Ice Cream Sandwich Bars (Easy Summer Dessert)
Why You’ll Love This Recipe
I first made these Frozen S’mores Ice Cream Sandwich Bars (Easy Summer Dessert) on a scorching July afternoon when the air conditioner could not keep up. My kids were begging for something cold and sweet, but I did not want to turn on the oven and make the house even hotter. That is when the idea hit me. I grabbed a box of graham crackers, a tub of vanilla ice cream, and the jar of marshmallow fluff I keep for hot chocolate season.
The first batch was a glorious mess. I did not let the ice cream soften enough, so the graham crackers cracked when I tried to press them down. But even broken, those bars disappeared in minutes. My family stood around the kitchen island, scooping up the crumbs with their fingers. I knew I had stumbled onto something special.
These Frozen S’mores Ice Cream Sandwich Bars (Easy Summer Dessert) solve the biggest problem of summer baking. You get all the campfire flavor of a classic s’more without the heat, the smoke, or the sticky marshmallow mess. The graham cracker layer stays perfectly crunchy, the chocolate fudge layer turns fudgy and rich, and the ice cream gives you that instant cold relief. I learned from my mistakes so you do not have to. For more about the history of this iconic campfire treat, check out the Wikipedia article on s’mores. These bars are my go to for pool parties, barbecues, and lazy afternoons.
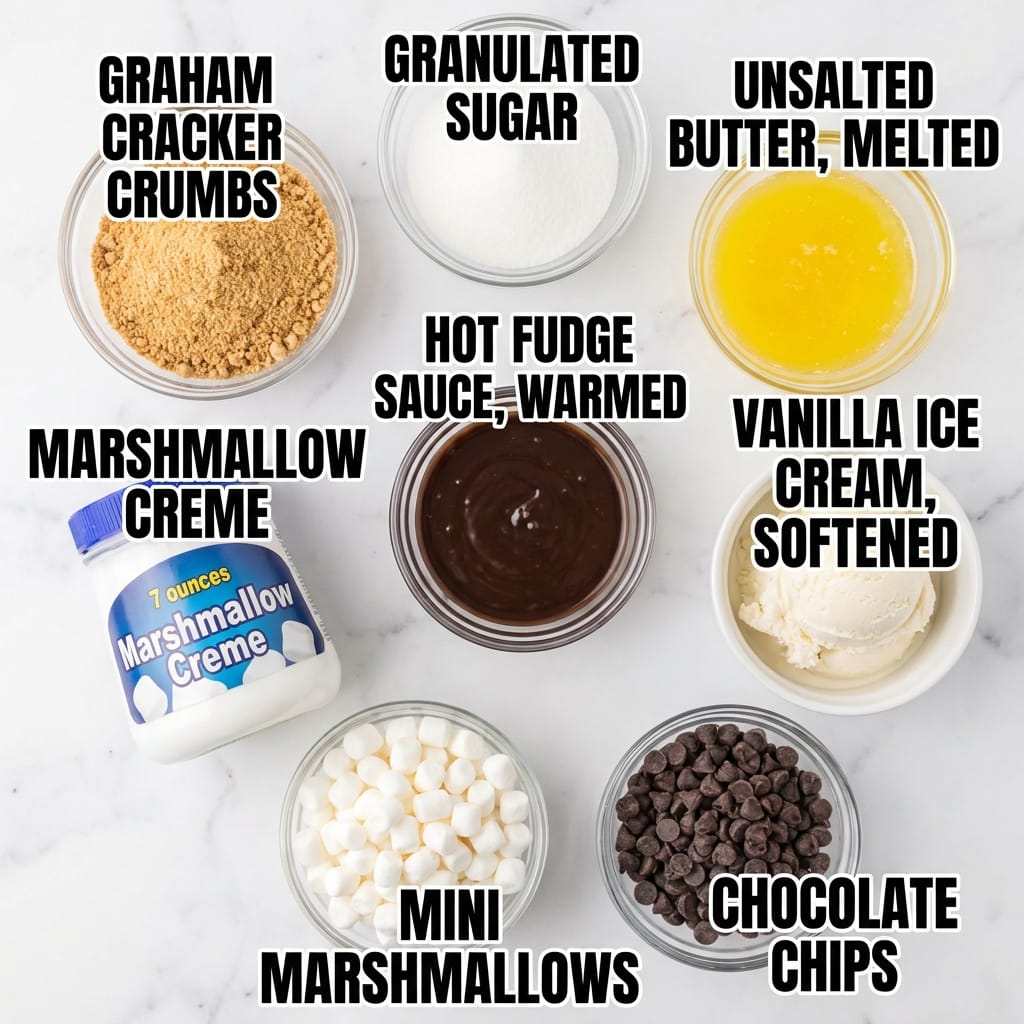
Ingredients
- 2 cups graham cracker crumbs (about 14 full sheets)
- 1/4 cup granulated sugar
- 6 tablespoons unsalted butter, melted
- 1 jar (7 ounces) marshmallow creme or fluff
- 1/2 cup hot fudge sauce, warmed slightly for spreading
- 1.5 quarts vanilla ice cream, softened just enough to spread
- 1 cup mini marshmallows, for topping
- 1/4 cup chocolate chips, for garnish
Step-by-Step Directions
First, get that graham cracker crust going. I crush my graham crackers in a zip top bag with a rolling pin because it feels satisfying and keeps the mess contained. You want fine crumbs with no big chunks. Pour those crumbs into a bowl, stir in the sugar, then pour the melted butter over the top. Mix with a fork until every crumb feels damp and clumps together when you squeeze it.
Press this mixture firmly into the bottom of a 9×13 inch baking dish lined with parchment paper. I use the bottom of a flat measuring cup to really pack it down. The crust should feel solid, not loose. Pop this into the freezer for 15 minutes to set.
While the crust chills, scoop your marshmallow creme into a small bowl. Microwave it for 15 seconds to make it spreadable. Do not overheat it or it will turn into a sticky balloon. When the crust is firm, spread the marshmallow creme in an even layer right over the graham crackers. It will be sticky and want to pull up the crust, so work gently.
Next comes the hot fudge. Warm it in the microwave for 10 to 15 seconds until it is thin enough to drizzle. Pour it over the marshmallow layer and spread it carefully. The fudge will sink into the marshmallow a little, which is exactly what you want. Put the pan back in the freezer for 20 minutes to firm up these layers.
Now for the ice cream. Let your vanilla ice cream sit on the counter for 10 to 15 minutes until it is soft but not melted. Scoop it onto the fudge layer and spread it evenly. This is the trickiest part. If the ice cream is too soft, it will mix with the fudge. If it is too hard, you will tear the layers. I use a rubber spatula dipped in hot water to smooth the top.
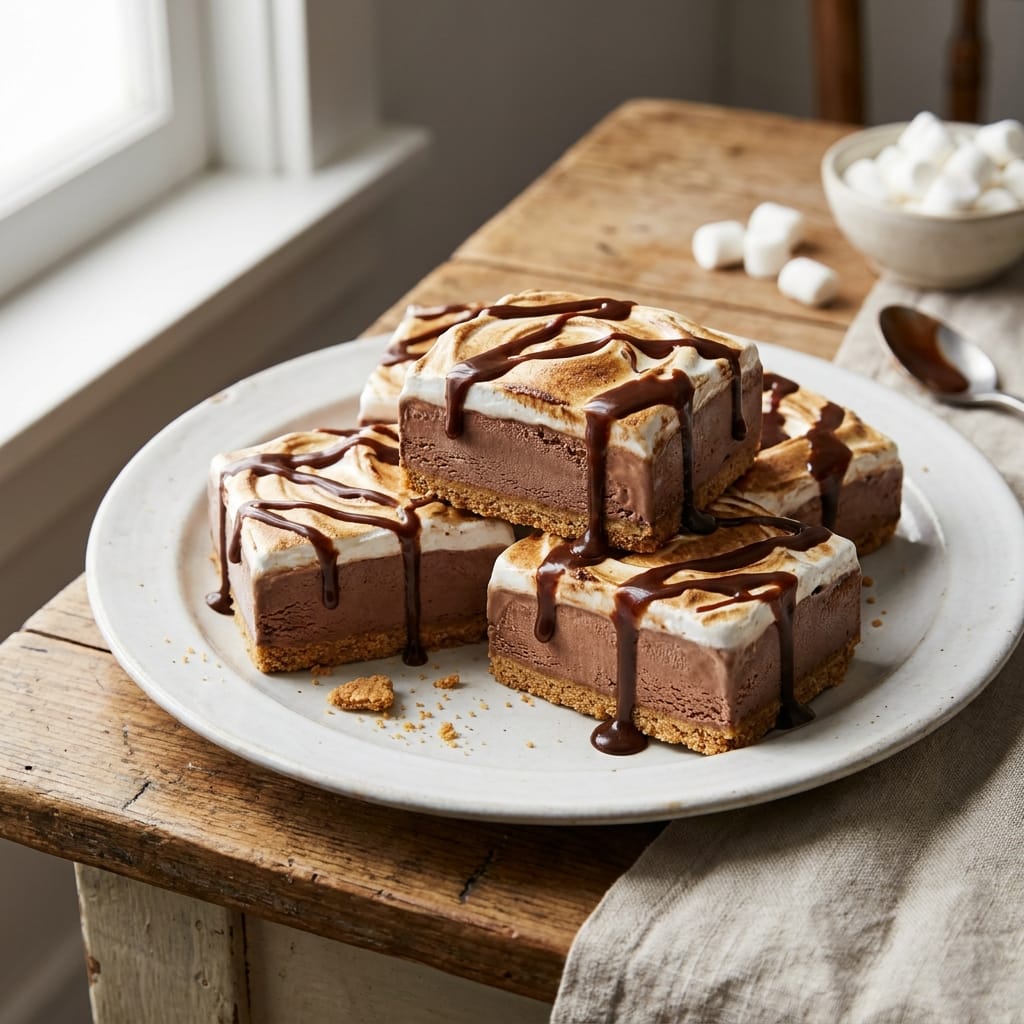
Sprinkle the mini marshmallows and chocolate chips over the ice cream. Cover the pan with plastic wrap and freeze for at least 6 hours, but overnight is better. When you are ready to serve, let the pan sit at room temperature for 5 minutes so the knife slides through easily. Slice into squares and watch them disappear.
Pro Tips for Success
Do not skip the step of freezing the crust before adding the marshmallow layer. A warm crust will absorb the marshmallow and turn soggy. A cold crust stays crisp and gives you that satisfying crunch against the creamy ice cream. This is the same principle used in many no-bake cheesecakes, and no-bake desserts rely on temperature control for texture.
Use full fat vanilla ice cream, not low fat or light versions. The fat content keeps the ice cream from turning icy after it refreezes. I learned this the hard way when I tried to save calories and ended up with icy, crumbly bars.
Let the pan sit at room temperature for exactly 5 minutes before cutting. Any longer and the ice cream starts melting. Any shorter and the graham cracker crust shatters. I set a timer on my phone because I have forgotten and ended up with a pan of mush.
Servings and Timing
This recipe makes 12 generous bars or 16 smaller squares. The active prep time is about 20 minutes, but you need at least 6 hours of freezing time before you can serve them. I always make these the night before I plan to serve them.
Variations and Substitutions
You can swap the vanilla ice cream for chocolate, cookies and cream, or even strawberry for a different flavor profile. If you love extra chocolate, use chocolate graham crackers instead of regular ones. For a peanut butter twist, swirl in 1/4 cup of creamy peanut butter with the hot fudge layer.
To make these gluten free, use certified gluten free graham crackers. They work exactly the same way. If you cannot find marshmallow creme, you can melt regular marshmallows with a teaspoon of water in the microwave. Just watch them closely because they puff up fast.
What to Serve With This
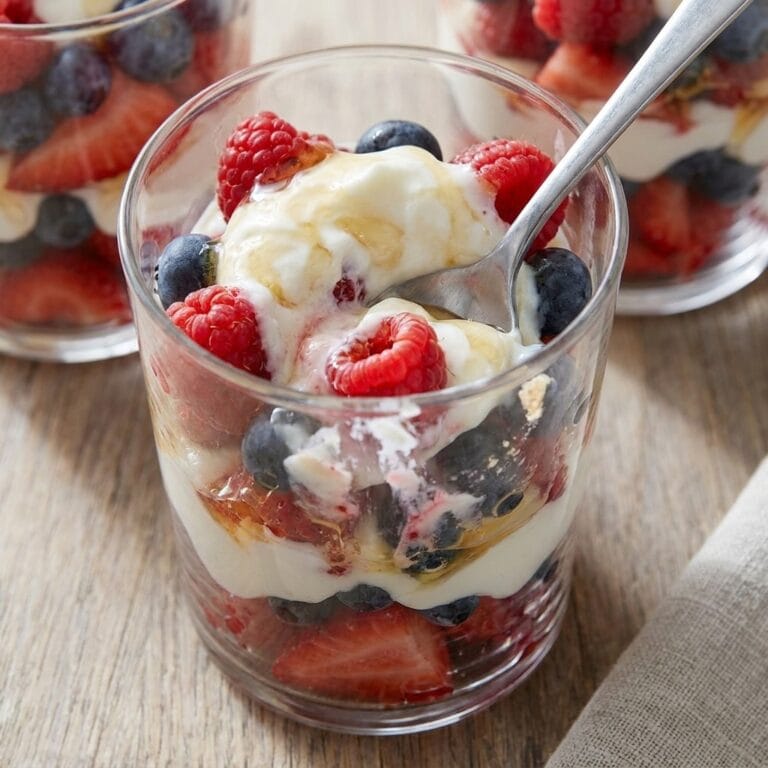
These Frozen S’mores Ice Cream Sandwich Bars (Easy Summer Dessert) are rich enough to stand alone, but I love serving them with a scoop of fresh berries on the side. The tartness cuts through the sweetness perfectly. If you are planning a full summer menu, try my Grilled Chicken Burgers before dessert. The smoky flavor pairs beautifully with the s’mores theme. You could also serve these alongside my Watermelon Feta Salad for a refreshing contrast.
Storage and Reheating
Store these bars in the freezer, tightly covered with plastic wrap and then foil, for up to two weeks. Do not store them in the refrigerator because the ice cream will melt and refreeze into a solid block. To serve leftovers, let the bars sit at room temperature for 5 minutes just like the first time. You do not need to reheat them. They are meant to be eaten frozen.
FAQs
Can I use chocolate ice cream instead of vanilla?
Absolutely. Chocolate ice cream makes these taste like a double chocolate s’more. Just make sure it is softened the same way as the vanilla.
What happens if I use too much marshmallow creme?
The bars will be very sweet and the marshmallow might ooze out the sides when you cut them. Stick to one jar for the best texture.
My graham cracker crust keeps crumbling when I cut. What went wrong?
You probably did not press it firmly enough or did not freeze it long enough. Next time, use a flat bottomed glass to really compact the crumbs.
Can I make these in a different pan size?
Yes, an 8×8 pan will give you thicker bars. Just increase the freezing time to 8 hours so the center sets fully.
How do I soften the ice cream without melting it?
Leave it on the counter for 10 to 15 minutes. Do not microwave it or stir it vigorously. You want it spreadable, not soupy.
Can I add toasted marshmallows on top?
Yes. Toast the mini marshmallows under the broiler for 30 seconds before sprinkling them on. Just watch them closely because they burn fast.

Conclusion
These Frozen S’mores Ice Cream Sandwich Bars (Easy Summer Dessert) have become my most requested summer recipe. Every time I bring them to a gathering, someone asks for the recipe before they even finish their first bite. They are forgiving, customizable, and genuinely easy to make. I love that I can prepare them a day ahead and not stress about dessert on party day. Try them once and I think you will agree that this is the best way to enjoy s’mores without a campfire. Let me know how yours turn out.
 | ||||||||||||||||||||||||||||||||||||||||||||||