
The Best Graduation Cookies 2026
Why You’ll Love This Recipe
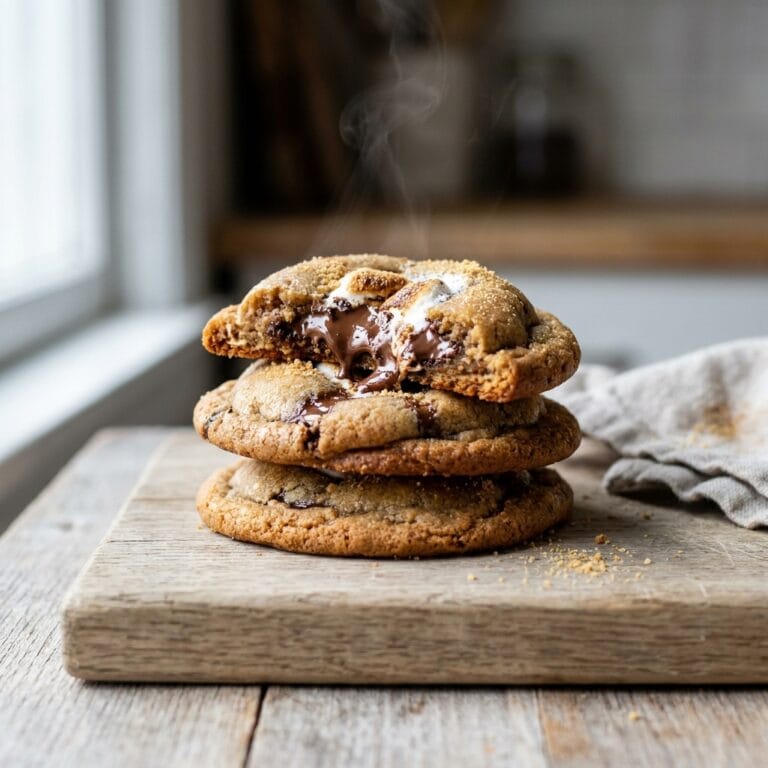
I have been testing this recipe for months. My goal was to create a cookie that tastes incredible but also holds up to being stacked in a tin or on a dessert table. So many decorated cookies are hard as rocks. Not these.
These graduation cookies 2026 are soft in the center with a slightly crisp edge. They are sturdy enough to hold royal icing details, like a tiny graduation cap or a diploma scroll. I messed up my first batch by overmixing the dough, which made them spread into flat puddles. After that disaster, I learned to stop mixing as soon as the flour disappears. The dough stays thick and bakes up perfectly puffy. You can read more about the science of cookie spreading on this Wikipedia article about the Maillard reaction, which is what gives the edges that golden brown color.
Ingredients
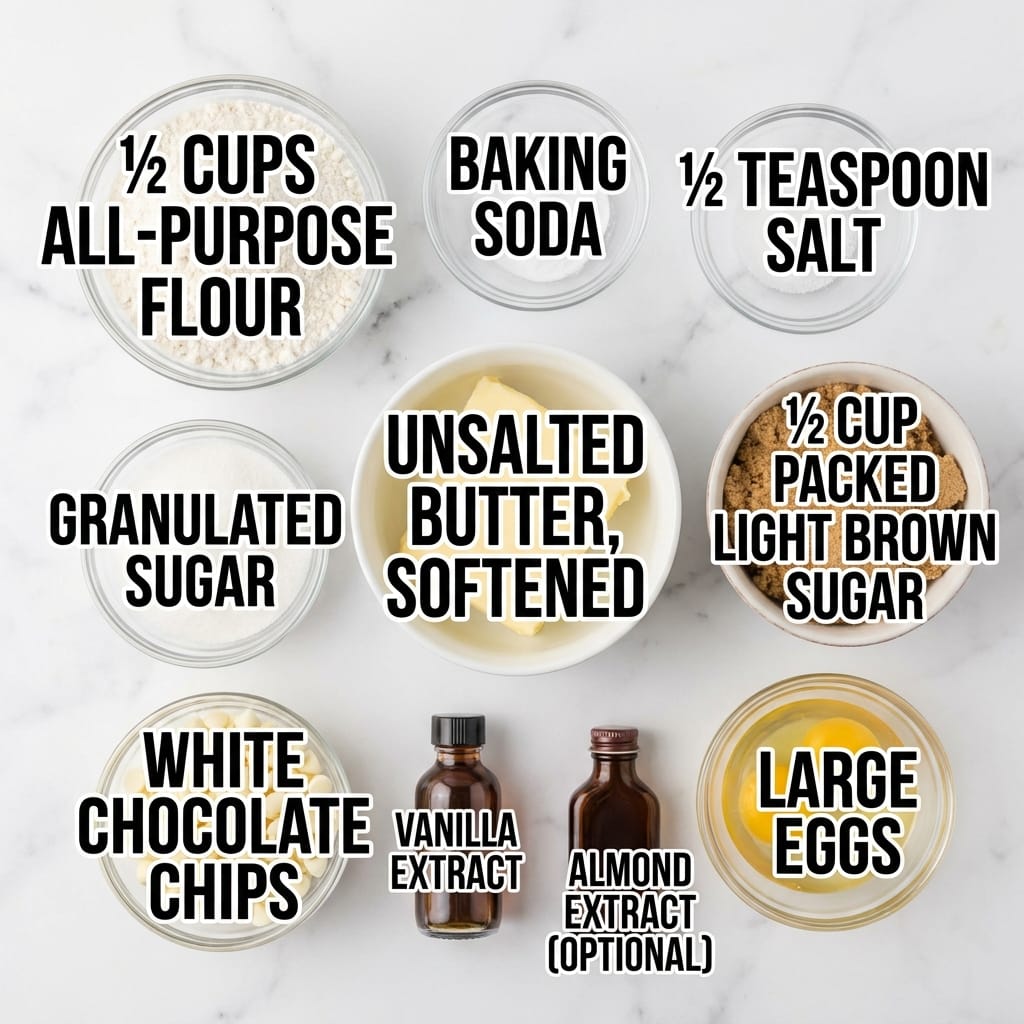
- 2 ½ cups all-purpose flour
- 1 teaspoon baking soda
- ½ teaspoon salt
- 1 cup unsalted butter, softened
- 1 cup granulated sugar
- ½ cup packed light brown sugar
- 2 large eggs
- 2 teaspoons vanilla extract
- 1 teaspoon almond extract (optional, for flavor)
- 1 cup white chocolate chips or vanilla candy melts (for the icing base)
- Food coloring gel in your school colors
- Edible glitter or gold luster dust (for decoration)
Step-by-Step Directions
- Get your oven preheating to 350 degrees F. Line two large baking sheets with parchment paper. Do not use wax paper or foil.
- In a medium bowl, whisk the flour, baking soda, and salt together. Set that bowl aside.
- Grab your largest mixing bowl. Drop in the softened butter and both sugars. Beat them with a hand mixer on medium speed until the mixture looks light and fluffy. This takes about two minutes. Scrape the sides of the bowl once.
- Crack both eggs into the butter mixture. Pour in the vanilla and the almond extract if you are using it. Beat again until everything is combined. The batter might look a little curdled at this point. That is totally normal.
- Dump the dry flour mixture into the wet mixture all at once. Stir with a rubber spatula by hand. Stop stirring the second you cannot see any more white flour streaks. Overmixing makes tough cookies.
- Scoop the dough into balls. I use a 1.5 tablespoon cookie scoop. Roll each ball between your palms until smooth. Place them two inches apart on the prepared baking sheets.
- Slide the sheets into the oven. Bake one sheet at a time. Bake for 9 to 11 minutes. The edges should look set and lightly golden. The centers will look slightly underdone and puffy.
- Let the cookies rest on the hot baking sheet for exactly three minutes. Then move them to a wire rack to cool completely. Do not skip this resting step. The cookies finish setting up off the heat.
- Once the cookies are completely cool, make the icing. Melt the white chocolate chips in a microwave-safe bowl in 30-second bursts, stirring between each burst. Stir in the food coloring gel until you get your desired shade.
- Dip the tops of the cookies into the colored icing or drizzle it over them with a spoon. Sprinkle on the edible glitter immediately before the icing sets. Let the icing harden completely before stacking the cookies.
Pro Tips for Success
Do not use cold butter. It will not cream properly with the sugar, and your cookies will be dense instead of tender. Let the butter sit on the counter for at least an hour before you start. For more on why butter temperature matters, check out this Wikipedia explanation of the creaming method.
Chill the dough if your kitchen is warm. If the dough feels soft or sticky after mixing, put the bowl in the refrigerator for 20 minutes. This prevents the cookies from spreading too thin in the oven.
Use gel food coloring, not liquid drops. Liquid coloring will thin out your icing and make it run right off the cookies. Gel keeps the icing thick and glossy.
Servings and Timing
This recipe makes about 30 cookies. The total prep time is 20 minutes. The bake time is 9 to 11 minutes per batch. The cooling and decorating time adds about 30 minutes. Plan for about an hour and a half from start to finish.

Variations and Substitutions
You can swap the white chocolate icing for a simple powdered sugar glaze. Mix one cup of powdered sugar with two tablespoons of milk and a splash of vanilla. It sets up fast and tastes great.
If you want a chocolate base, replace ¼ cup of the all-purpose flour with ¼ cup of unsweetened cocoa powder. These graduation cookies 2026 will have a rich chocolate flavor that goes perfectly with a white icing drizzle.
For a gluten-free version, use a 1-to-1 gluten-free baking flour blend that contains xanthan gum. The texture will be slightly more crumbly but still delicious.
What to Serve With This
These cookies are the star of any graduation party. Pair them with a glass of cold milk or a pink lemonade recipe for a refreshing drink. They also look beautiful on a dessert table next to a chocolate dipped strawberries recipe. The combination of the sweet cookie and the tart berry is perfect.
Storage and Reheating
Store the decorated cookies in a single layer in an airtight container. If you need to stack them, place a piece of wax paper between each layer. They will stay fresh for up to five days at room temperature. Do not refrigerate them. The fridge dries out the cookies and makes the icing crack. You can freeze the undecorated baked cookies for up to three months. Thaw them at room temperature, then ice them fresh.
FAQs
Can I make the dough ahead of time?
Yes. You can shape the dough into balls and freeze them on a baking sheet. Once frozen solid, transfer the dough balls to a zip-top bag. Bake them straight from frozen. Just add two extra minutes to the bake time.
Why did my cookies spread into flat discs?
Your butter was probably too soft or your dough was too warm. Next time, chill the dough balls for 30 minutes before baking. Also, make sure your baking soda is fresh. Old baking soda loses its power.
What happens if I use liquid food coloring instead of gel?
The icing will become too thin. It will drip off the sides of the cookies and pool on the cooling rack. You can try thickening it with more powdered sugar, but it is better to start with gel.
Can I use this dough for cut-out cookies?
No. This is a drop cookie dough. It is too soft to roll out and cut into shapes. For cut-out cookies, you need a stiffer dough with more flour and no baking soda.
My icing is too thick to dip. How do I fix it?
Stir in a few drops of vegetable oil or coconut oil. Do not use water. Water will make the icing seize up and turn grainy. Add the oil one drop at a time until the icing flows smoothly.

Conclusion
I am so excited for you to try these graduation cookies 2026. They are the perfect way to celebrate a huge milestone. The cookie itself is soft and buttery, and the icing gives you endless possibilities for decoration. Whether you are making them for your own graduate or for a friend, they are sure to be a hit. Please come back and tell me how yours turned out. I love seeing your photos and hearing your stories.
 | ||||||||||||||||||||||||||||||||||||||||||||||||||||||||||||||||||