
3-Ingredient Chocolate Peanut Butter Cups
Why You’ll Love This Recipe
I have a confession to make. I am a little bit obsessed with the perfect ratio of chocolate to peanut butter. For years, I bought the expensive store-bought cups, always feeling a little disappointed by the waxy chocolate and the overly sweet filling. I wanted something that tasted like a real, decadent treat, not a factory-made candy.
That is when I started tinkering in my kitchen. My first batch of 3-Ingredient Chocolate Peanut Butter Cups was a disaster. I used the wrong kind of chocolate, and it seized up into a gritty, un-meltable mess. The filling was too runny and it leaked out the sides. It was a sticky, frustrating failure. But I was determined.
After a few more tries, I finally cracked the code. The secret, I discovered, is all in the texture. You need a very specific type of peanut butter and a very specific melting technique. The result is a cup that is perfectly smooth, has a satisfying snap when you bite into it, and a filling that is creamy and almost fudge-like. These are not just a quick candy. They are a little piece of homemade heaven. For more on the science of melting chocolate, check out this article on chocolate tempering.
Ingredients
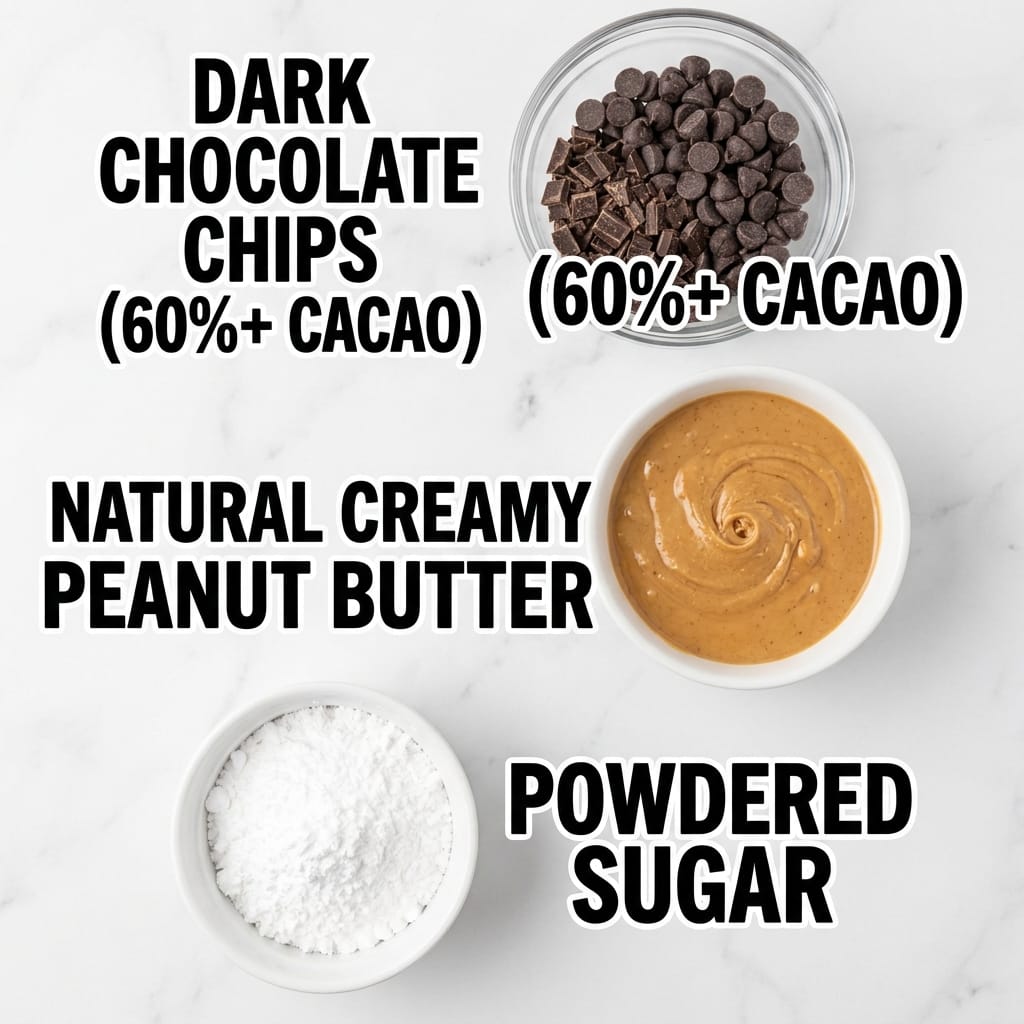
- 1 cup (about 6 ounces) dark chocolate chips or chopped dark chocolate (at least 60% cacao)
- 1/2 cup natural creamy peanut butter (the kind with just peanuts and salt, no added sugar or oil)
- 2 to 3 tablespoons powdered sugar (or maple syrup for a less sweet version)
Step-by-Step Directions
- First, you need to prepare your mini muffin tin. Line it with 12 paper or silicone liners. Do not skip this step. The chocolate will stick to the pan otherwise.
- Now, we tackle the chocolate. Place your dark chocolate chips in a completely dry, microwave-safe bowl. I cannot stress this enough. Any water will make the chocolate seize. Microwave it in 30-second bursts, stirring vigorously with a dry spatula after each burst. Stop when about 75% of the chocolate is melted. The residual heat will melt the rest. The chocolate should look glossy and smooth, not thick or grainy.
- While the chocolate is melting, make the filling. In a small bowl, stir together the peanut butter and the powdered sugar. If you are using maple syrup, stir that in too. The mixture should look like a thick, slightly crumbly paste. If it is too runny, add a little more powdered sugar.
- Here is the fun part. Drop a small spoonful of melted chocolate into each liner. Use the back of the spoon to push the chocolate up the sides of the liner a little bit. You want a thin, even layer on the bottom and sides.
- Now, take a small ball of your peanut butter filling, about the size of a marble, and gently press it into the center of the chocolate cup. Do not flatten it completely. You want a little mound of filling.
- Finally, cover the filling with the remaining melted chocolate. Tap the muffin tin gently on the counter to level out the chocolate and remove any air bubbles.
- Place the tin in the refrigerator for at least 30 minutes, or until the chocolate is completely firm and has a nice snap when you peel away the liner.
Pro Tips for Success
The biggest mistake people make is using the wrong peanut butter. Do not use the kind that has added sugar, hydrogenated oils, and stabilizers. It will make your filling taste waxy and artificial. You need a natural peanut butter that separates. Stir it well before measuring. For more on the different types of peanut butter, check out this page on peanut butter varieties.
Also, do not overheat your chocolate. If you burn it, it will turn into a thick, lumpy mess that you cannot fix. Low and slow is the way to go.
Finally, be patient with the chilling time. If you try to peel the liners off too early, the chocolate will be soft and the cups will fall apart. Give them the full 30 minutes in the fridge.
Servings and Timing
This recipe makes exactly 12 mini 3-Ingredient Chocolate Peanut Butter Cups. The active prep time is about 10 minutes, and the chilling time is at least 30 minutes. So from start to finish, you are looking at about 40 minutes.
Variations and Substitutions
You can easily switch up the flavor of these 3-Ingredient Chocolate Peanut Butter Cups. Instead of dark chocolate, try using milk chocolate for a sweeter, creamier cup. If you are a fan of white chocolate, that works beautifully too, though it is much sweeter. For the filling, you can add a pinch of flaky sea salt right on top before the chocolate sets. This creates a wonderful sweet and salty contrast. You can also swap the peanut butter for almond butter or cashew butter for a different nutty flavor. Just make sure the nut butter you use is natural and not too oily.

What to Serve With This
These little cups are perfect on their own as a quick dessert. They are also fantastic crumbled over a bowl of vanilla ice cream. If you are looking for another sweet treat that is just as simple, you have to try my Fluffy 3-Ingredient Banana Pancakes for breakfast. Or, if you want something a little more decadent, check out my Fluffy 3-Ingredient Banana Pancakes for a healthy-ish dessert option.
Storage and Reheating
Store your finished 3-Ingredient Chocolate Peanut Butter Cups in an airtight container in the refrigerator. They will stay fresh and firm for up to two weeks. I actually prefer them cold, straight from the fridge. If you want to keep them at room temperature, they will be a little softer, but they will still be delicious. Do not freeze them, as the texture of the peanut butter filling can become a bit grainy when thawed.
FAQs
Can I use crunchy peanut butter instead of creamy?
Yes, absolutely. Crunchy peanut butter will give your cups a wonderful, satisfying texture. Just make sure it is still a natural peanut butter.
My chocolate seized and became grainy. What went wrong?
This usually happens when a tiny drop of water gets into the melting chocolate. Make sure your bowl and spatula are completely dry. You can also try melting the chocolate in a double boiler on the stove, which is a more gentle method.
The filling is too sticky to roll into balls. What should I do?
If your peanut butter mixture is too sticky, it likely has too much oil. Try adding a little more powdered sugar, one teaspoon at a time, until it comes together into a workable dough.
Can I make these vegan?
Yes, easily. Just use vegan dark chocolate chips. Most dark chocolate is naturally vegan, but always check the label. Also, make sure your powdered sugar is vegan, as some brands use bone char in processing.
What happens if I leave the cups in the fridge for 24 hours?
They will be perfectly fine. They will be very firm and have a great snap. I often make a double batch and keep them in the fridge for a week. They are a perfect make-ahead dessert.

Conclusion
I hope you give these incredibly easy 3-Ingredient Chocolate Peanut Butter Cups a try. They are my go-to for a quick chocolate fix, and they always impress. The combination of rich, dark chocolate and creamy, salty-sweet peanut butter is truly irresistible. Let me know how yours turn out. I would love to hear about your own kitchen victories and discoveries.
 | ||||||||||||||||||||||||||||||||||||||