5-Minute Microwave Berry Crisp
Why You’ll Love This Recipe
I have a very clear memory of the first time I tried to make a berry crisp in the microwave. I was impatient, hungry for something sweet, and I just tossed frozen berries into a bowl with some oats. The result was a sad, soggy mess. It tasted okay, but the texture was completely wrong. That failure stuck with me. I knew there had to be a way to get that glorious, crackly topping without turning on the big oven.
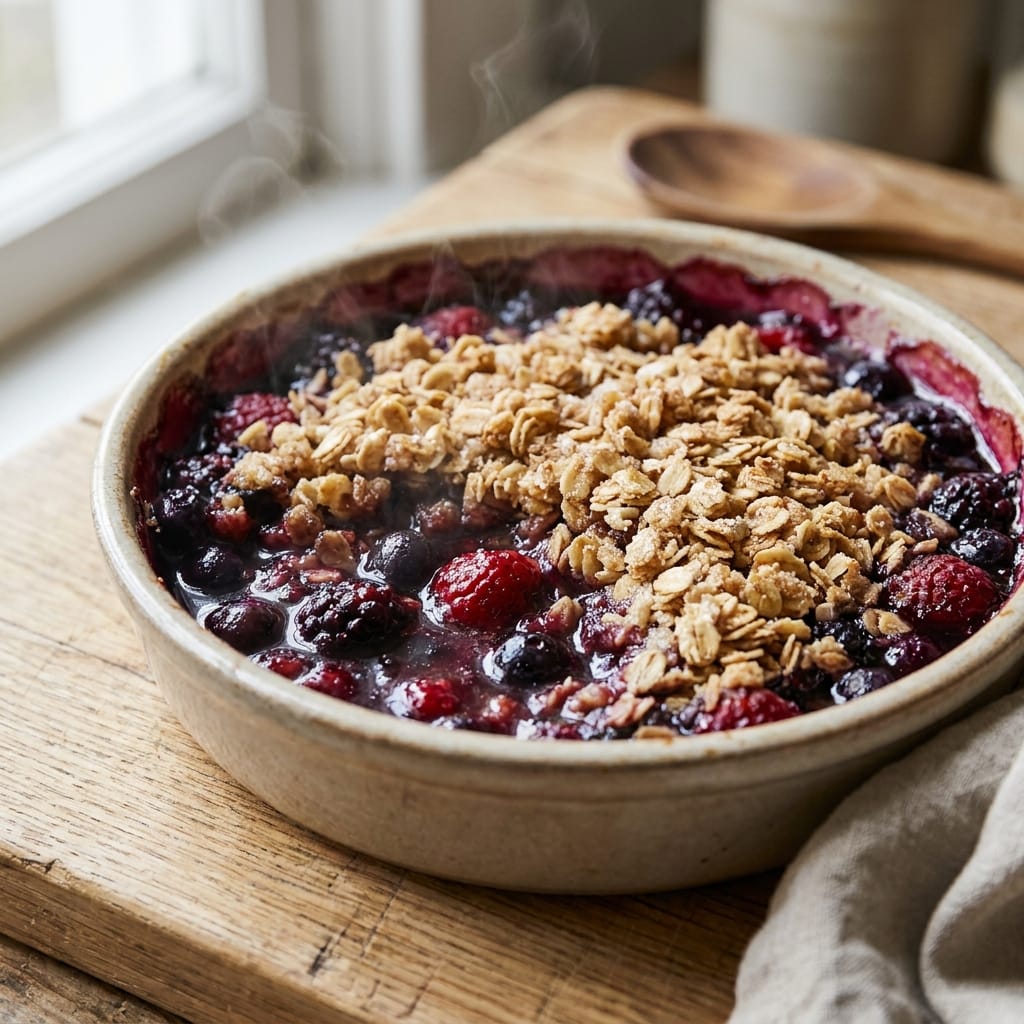
After many test batches, I finally cracked the code. The trick is all in how you layer the ingredients and the specific technique for the topping. This 5-Minute Microwave Berry Crisp is the result of all that trial and error. It gives you a bubbling, jammy berry filling and a genuinely crunchy, buttery oat topping. It is a single-serving miracle that feels like a warm hug on a cold day. You get all the satisfaction of a classic fruit crisp without the long wait.
This recipe solves the problem of wanting a real, homemade dessert but having zero time or energy. It is perfect for those evenings when you just need a little something sweet. It is also incredibly forgiving. You can use fresh or frozen berries, and the topping comes together in one bowl. I honestly make this more often than my oven-baked crisps now because it is just so easy and fast.
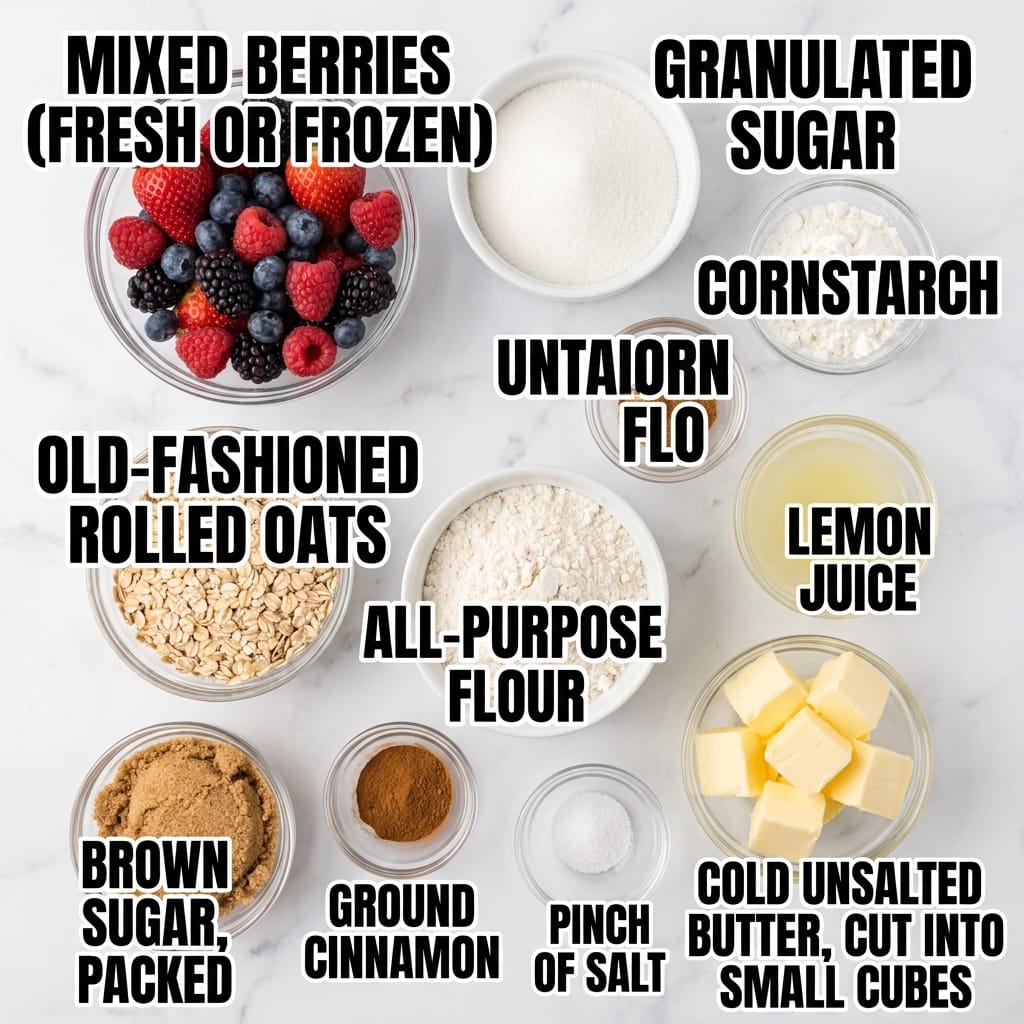
Ingredients
- 1 cup mixed berries (fresh or frozen, no need to thaw)
- 1 tablespoon granulated sugar
- 1 teaspoon cornstarch
- 1 teaspoon lemon juice
- 3 tablespoons old-fashioned rolled oats
- 2 tablespoons all-purpose flour
- 2 tablespoons brown sugar, packed
- 1/4 teaspoon ground cinnamon
- Pinch of salt
- 2 tablespoons cold unsalted butter, cut into small cubes
Step-by-Step Directions
- Grab a microwave-safe mug or a small ramekin. A standard 12-ounce coffee mug works perfectly. Drop your berries right in. If you are using frozen berries, do not bother thawing them first. Just toss them in frozen.
- Sprinkle the granulated sugar, cornstarch, and lemon juice over the berries. Stir everything together with a small fork. You want the cornstarch to coat the berries so it can thicken the juices as they cook. The lemon juice brightens the whole thing up and keeps it from tasting flat.
- In a separate small bowl, make the crisp topping. Mix the rolled oats, flour, brown sugar, cinnamon, and salt. Stir them together with your fingers. The brown sugar should be evenly distributed, with no big clumps.
- Drop the cold butter cubes into the oat mixture. Use your fingertips to pinch and rub the butter into the dry ingredients. Keep going until the mixture looks like coarse, crumbly sand with some slightly larger pea-sized butter bits. This is what creates the crunchy texture. Do not overwork it or the butter will get too warm.
- Spoon the topping evenly over the berries in your mug. Press it down gently with the back of your spoon so it sits flat on the fruit. Do not pack it too tightly, just a gentle pat.
- Place your mug on a microwave-safe plate to catch any potential overflow. Microwave on high power for 60 to 90 seconds. Start checking at 60 seconds. The berries should be bubbling up around the edges of the topping. The topping will look set and slightly puffed. If it is still liquidy, give it another 15 seconds.
- Let the crisp sit in the microwave for one full minute after cooking. This is a crucial step. The filling continues to thicken as it rests. If you dig in right away, it will be runny. The topping will also set and become crunchier as it cools slightly.
- Carefully remove the mug. It will be very hot. Let it cool for another minute or two before eating. The filling will be lava-hot. I always warn my kids to blow on it first.
Pro Tips for Success
The single most important tip for a non-soggy topping is to use cold butter. If your butter is soft or melted, it will just absorb into the oats and make a paste. You want those distinct butter chunks that melt and create steam pockets in the microwave, giving you that crispy texture. Think of it like making a streusel for a coffee cake. The cold butter is non-negotiable.
Another thing I learned the hard way is to never skip the cornstarch. Berries release a ton of liquid when they cook. Cornstarch is what turns that liquid into a glossy, jammy sauce. Without it, you will end up with berry soup. It is a tiny ingredient that makes a huge difference.
Finally, do not overcook it. The microwave is powerful, and 90 seconds is usually the sweet spot for a single serving. If you cook it for two minutes, the topping can get tough and the berries can turn into a bitter mush. Start with less time and add more if needed. Every microwave is a little different.
Servings and Timing
This recipe makes one generous single serving. The total time is about 5 minutes, with 2 minutes of active prep and about 2 to 3 minutes of cooking and resting time. It is designed to be made in a standard 12-ounce microwave-safe mug or a small ramekin.
Variations and Substitutions
You can use any combination of berries you like. Strawberries, blueberries, raspberries, and blackberries all work beautifully. If you use only strawberries, chop them into smaller pieces so they cook evenly. For a different flavor, try using diced peaches or nectarines instead of berries.
If you need a gluten-free version, simply swap the all-purpose flour for a 1-to-1 gluten-free baking flour blend. The oats should be certified gluten-free as well. For a dairy-free option, use a solid vegan butter or coconut oil in place of the regular butter. Just make sure it is cold when you add it to the topping.
You can also play with the spices. A pinch of nutmeg or cardamom in the topping is lovely. If you want a more decadent dessert, add a tablespoon of chocolate chips to the berry mixture before topping it. The chocolate melts into the fruit and creates a rich, fudgy sauce.

What to Serve With This
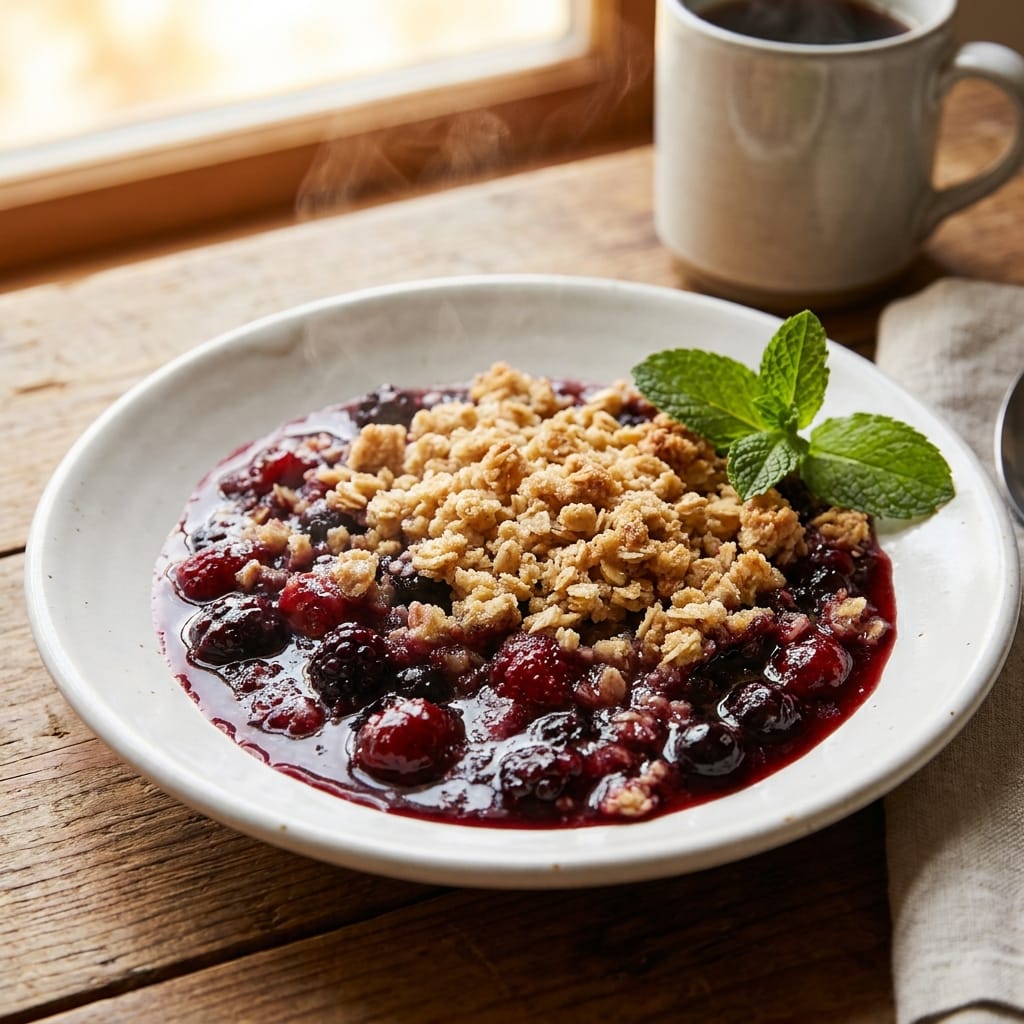
This 5-Minute Microwave Berry Crisp is absolutely perfect on its own, but it is even better with a scoop of vanilla ice cream melting over the top. The cold creaminess against the warm, jammy fruit is a classic combination for a reason.
For a lighter option, I love serving it with a dollop of Greek yogurt or a drizzle of heavy cream. It also pairs wonderfully with a simple 5-Minute Avocado Toast with Egg for a sweet and savory breakfast or snack. The crisp fruit topping is a fantastic contrast to the creamy, savory avocado.
Storage and Reheating
This crisp is best enjoyed immediately after it is made. The topping will lose its crunch as it sits. However, if you have leftovers, you can store the mug in the refrigerator for up to one day. To reheat, simply microwave it for 30 to 45 seconds. The topping will be softer, but the filling will be warm and delicious again.
I do not recommend freezing this recipe. The texture of the oats and the berries will change significantly upon thawing. It is really designed to be a quick, single-serving treat that you make on the spot.
FAQs
Can I use quick-cooking oats instead of old-fashioned oats?
You can, but the texture will be different. Quick oats are much finer and will create a softer, more cake-like topping. Old-fashioned oats give you that classic, hearty, and crunchy crisp texture. I prefer old-fashioned for this reason.
What happens if I double the recipe?
You can double the ingredients, but you will need a much larger microwave-safe bowl. The cooking time will also increase. Start with 2 minutes on high and check it. You may need to add another 30 to 60 seconds. Just be careful not to overflow the bowl.
My topping turned out soggy. What did I do wrong?
The most common reason is that the butter was too warm. Make sure you use cold butter straight from the fridge. Another reason could be that you stirred the topping too much after adding the butter. Just pinch and rub until it looks like coarse crumbs. Overworking it melts the butter.
Can I use a different type of sugar?
Yes. You can use coconut sugar or maple sugar in place of the brown sugar for the topping. For the berry filling, you can use honey or maple syrup, but reduce the amount slightly as they are sweeter. Just be aware that liquid sweeteners will make the filling a bit more saucy.
Is this recipe safe for kids to make?
With close adult supervision for the microwave part, yes. A child can easily measure and mix the ingredients. The biggest danger is the hot mug after cooking. I always handle the hot mug myself and let my kids add the ice cream. It is a very fun and safe cooking project for them.
Conclusion
I hope you give this 5-Minute Microwave Berry Crisp a try the next time a dessert craving hits. It is my little secret for a warm, satisfying treat that feels like a real indulgence but takes almost no effort. The topping gets perfectly crunchy, the berries turn into a beautiful jammy sauce, and the whole thing comes together in your favorite mug. It is pure comfort in a cup. Let me know how it turns out for you. I love hearing about your kitchen wins.
 | ||||||||||||||||||||||||||||||||||||||||||||||||||