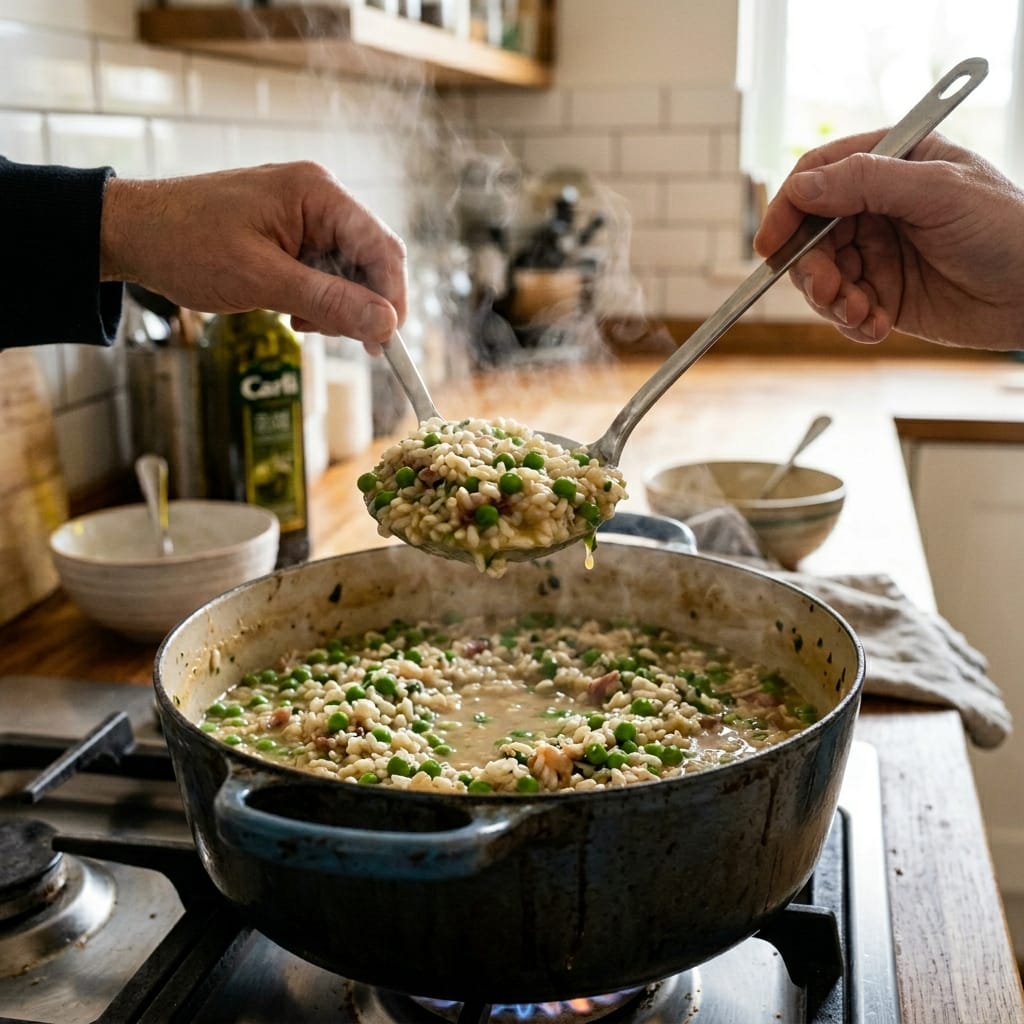
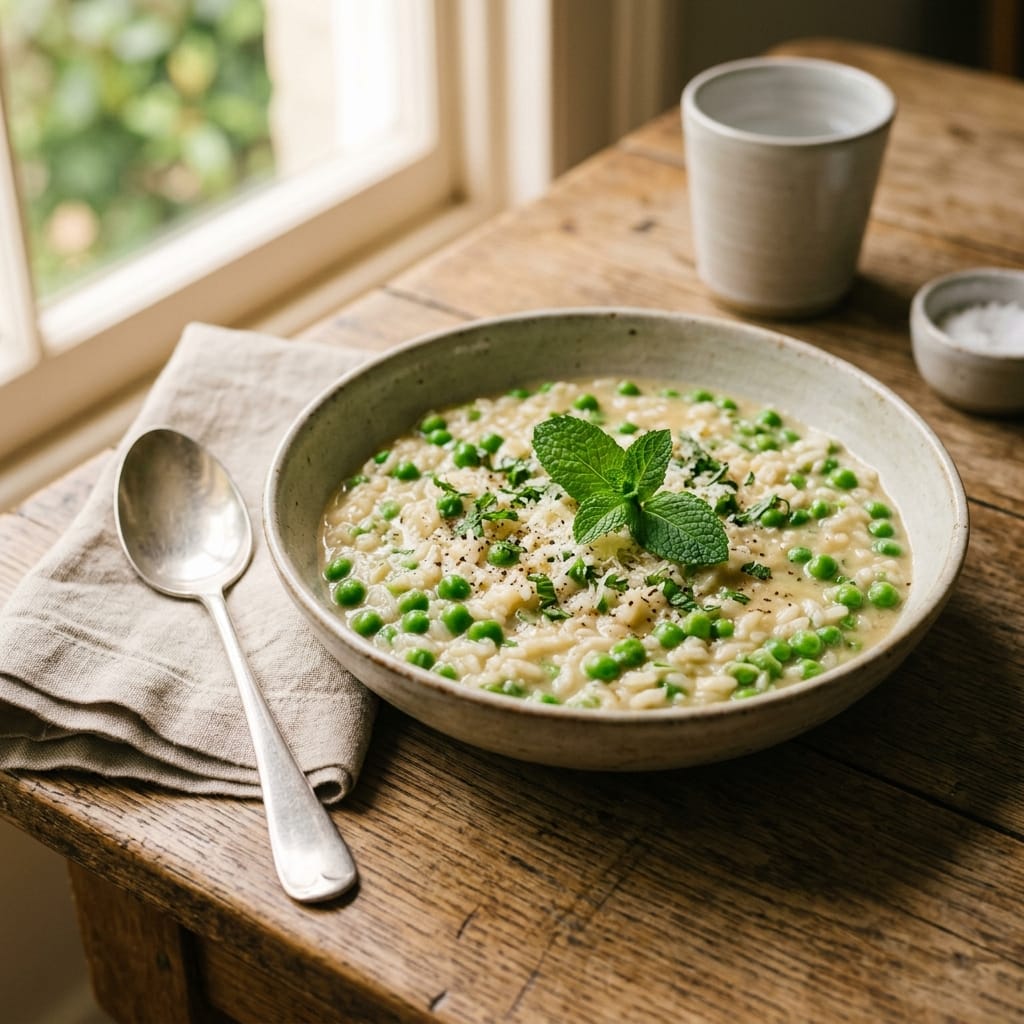
Risi e Bisi (Green Pea Risotto)
Why You’ll Love This Recipe
I love this Risi e Bisi (Green Pea Risotto) recipe because it captures the essence of spring in a single, soul-warming bowl. It is not a traditional thick risotto; it is a Venetian classic that is looser and more brothy, like a very thick soup. The sweet, fresh flavor of green peas is the absolute star, and the dish comes together in under an hour with simple, honest ingredients. It is elegant enough for a special dinner yet comforting enough for a quiet weeknight meal.
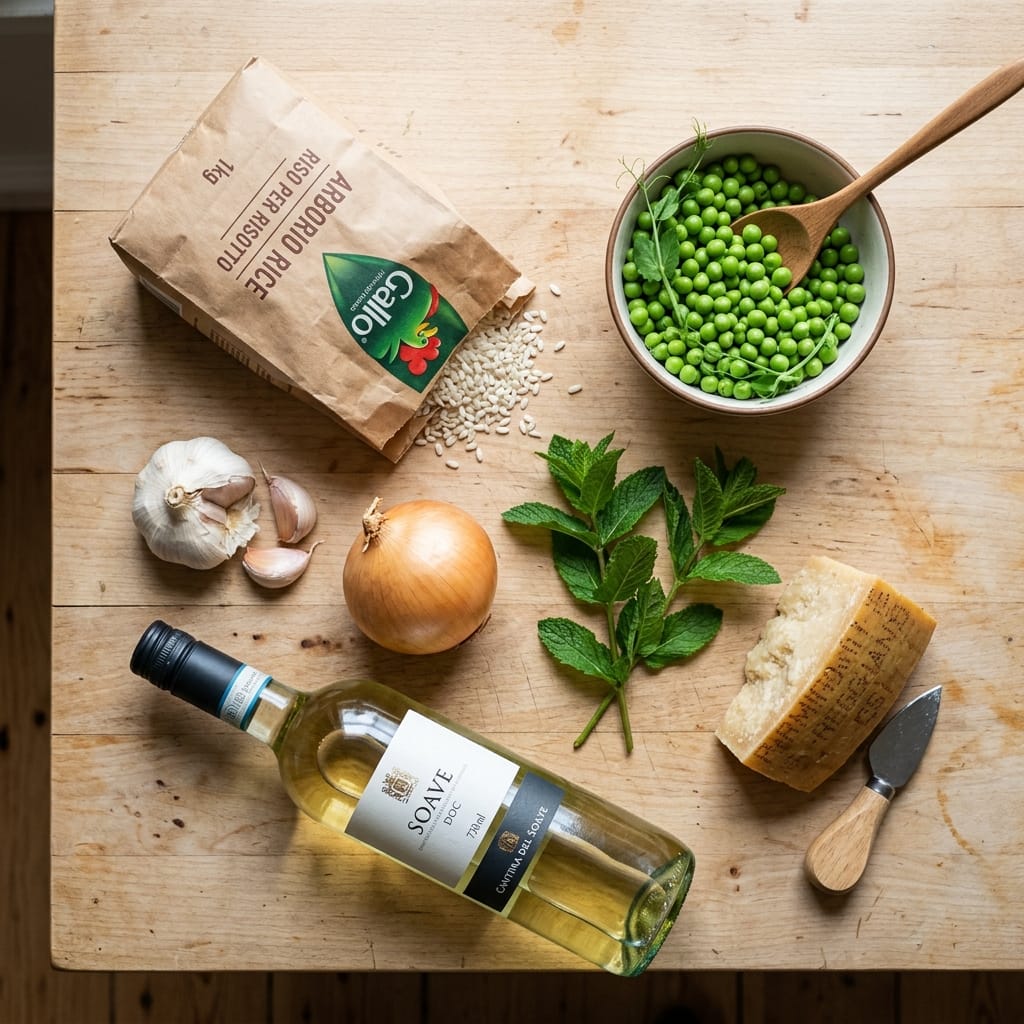
Ingredients
- 4 cups low-sodium chicken or vegetable broth, plus more as needed
- 2 tablespoons unsalted butter
- 1 tablespoon olive oil
- 1 small yellow onion, finely diced
- 1 cup Arborio rice
- 1/2 cup dry white wine
- 2 cups fresh or frozen green peas (if using frozen, thaw them first)
- 1/2 cup freshly grated Parmigiano-Reggiano cheese
- 1/2 teaspoon kosher salt
- 1/4 teaspoon freshly ground black pepper
- 1/4 cup fresh mint leaves, chopped (optional, for garnish)
Directions
In a small saucepan, bring the broth to a gentle simmer over low heat. Keep it warm while you cook.
In a large, heavy-bottomed pot or Dutch oven, melt 1 tablespoon of the butter with the olive oil over medium heat. Add the finely diced onion and cook, stirring occasionally, until it is soft and translucent, about 5 minutes. Do not let it brown.
Add the Arborio rice to the pot and stir it constantly for about 1 minute, until the grains are well coated and the edges begin to look translucent. This is called toasting the rice and it helps the grains hold their shape.
Pour in the white wine and stir until it is mostly absorbed by the rice, about 1 minute.
Begin adding the warm broth, one ladleful at a time, stirring frequently. Wait until each addition of broth is almost fully absorbed before adding the next. This process will take about 18 to 20 minutes. The rice should be tender but still have a slight bite to it, and the mixture should be loose and brothy, not stiff.
When the rice is almost done, stir in the green peas. Cook for 2 to 3 minutes more, until the peas are bright green and tender.
Remove the pot from the heat. Stir in the remaining 1 tablespoon of butter and the grated Parmigiano-Reggiano cheese. Season with the salt and pepper. Stir vigorously for a minute to create a creamy texture.
Let the risi e bisi rest for 2 to 3 minutes before serving. It will thicken slightly as it sits. Serve in shallow bowls, garnished with fresh mint if desired.
Servings and Timing
This recipe makes 4 generous main course servings or 6 side dish servings. The total time from start to finish is about 40 minutes, with 10 minutes of prep and 30 minutes of cooking.
Variations
For a richer, more decadent version, you can add a splash of heavy cream at the end along with the butter and cheese. If you prefer a vegetarian or vegan dish, use vegetable broth, substitute the butter with a good quality olive oil, and omit the Parmigiano-Reggiano or use a vegan Parmesan alternative. To add more protein, stir in some cooked, crumbled pancetta or crispy prosciutto just before serving. For a burst of freshness, try swapping the mint for a few tablespoons of chopped fresh basil or parsley.
Storage and Reheating
Store any leftover risi e bisi in an airtight container in the refrigerator for up to 3 days. The rice will absorb the liquid and become thicker. To reheat, place the desired amount in a saucepan with a splash of broth or water. Warm over low heat, stirring frequently, until heated through. You can also reheat it in the microwave in 30-second intervals, stirring in between. I do not recommend freezing this dish, as the texture of the rice and peas will suffer.
FAQs
Can I use frozen peas for this recipe?
Yes, absolutely. Frozen peas are a great convenience and work perfectly. Just be sure to thaw them first and drain off any excess water before adding them to the pot. Fresh peas are wonderful when in season, but frozen peas are just as good for this dish.
Why is my risi e bisi too thick?
This dish is meant to be looser than a traditional risotto. If it becomes too thick, simply stir in a little more warm broth or water until it reaches a soupy, porridge-like consistency. Remember, it will continue to thicken as it rests.
Can I make this dish without wine?
Yes, you can skip the white wine. Simply replace it with an equal amount of additional warm broth. The wine adds a subtle acidity and depth, but the dish will still be delicious without it.
What is the best rice to use for risi e bisi?
Arborio rice is my top choice because it releases a lot of starch, creating a wonderfully creamy texture. Carnaroli or Vialone Nano rice are also excellent options. Do not use long-grain rice like basmati or jasmine, as they will not yield the same creamy result.
Can I make this recipe ahead of time?
This dish is best enjoyed fresh, right after cooking. However, you can prepare the peas and chop the onion ahead of time to save a few minutes. If you do have leftovers, follow the storage and reheating instructions above.
Conclusion
I hope you enjoy making and eating this beautiful Venetian classic as much as I do. It is a simple, humble dish that feels like a warm hug on a cool spring evening. The sweet peas and creamy rice are a perfect pairing, and the fresh mint adds a lovely bright note. Give it a try and let me know how it turns out for you.
PrintRisi e Bisi (Green Pea Risotto)

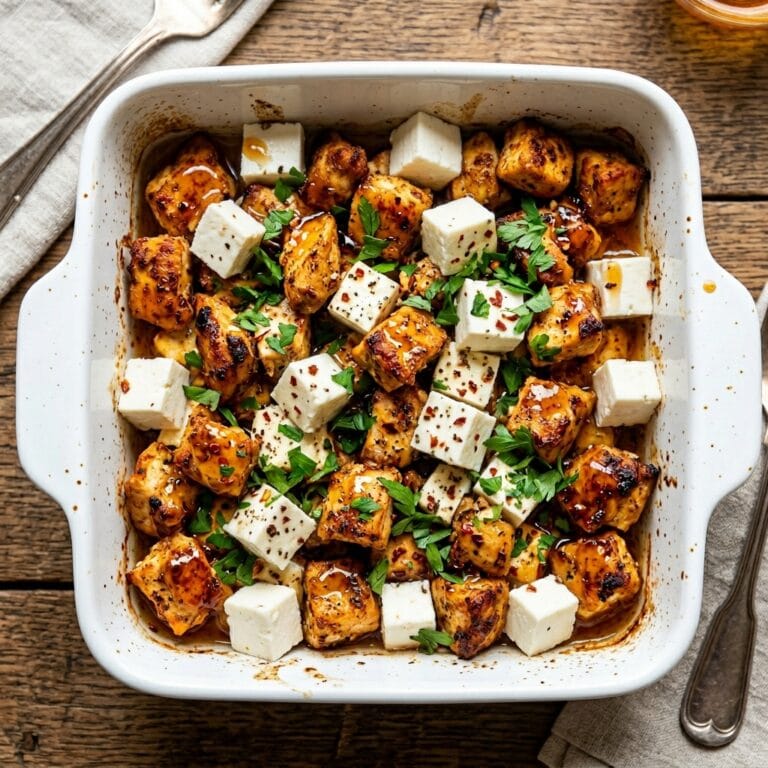
Discover my recipe for Honey Garlic Chicken Thighs, a sticky, sweet, and savory dinner ready in 30 minutes. Perfect for busy weeknights with simple ingredients.
- Prep Time: 10 minutes
- Cook Time: 25 minutes
- Total Time: 35 minutes
- Yield: 4 servings
- Category: Dinner
- Method: Stovetop
- Cuisine: American
- Diet: Gluten-Free
Ingredients
– 6 bone-in, skin-on chicken thighs
– 1 teaspoon salt
– 1/2 teaspoon black pepper
– 1 tablespoon olive oil
– 1/3 cup honey
– 1/4 cup low-sodium soy sauce
– 4 cloves garlic, minced
– 1 tablespoon rice vinegar
– 1 teaspoon sesame oil
– 1/2 teaspoon red pepper flakes
– 1 tablespoon cornstarch
– 2 tablespoons water
– 2 green onions, sliced for garnish
– 1 teaspoon sesame seeds for garnish
Instructions
1. Pat the chicken thighs dry and season with salt and pepper.
2. Heat olive oil in a large skillet over medium-high heat. Sear the chicken skin-side down for 5-6 minutes until golden brown. Flip and cook for another 4-5 minutes. Remove chicken and set aside.
3. In a small bowl, whisk together honey, soy sauce, garlic, rice vinegar, sesame oil, and red pepper flakes. Pour into the skillet and bring to a simmer.
4. In another small bowl, whisk cornstarch and water to make a slurry. Slowly pour into the simmering sauce while whisking. Cook for 1 minute until thickened.
5. Return the chicken to the skillet, skin-side up. Spoon sauce over the top. Cover and simmer on low for 10-15 minutes until cooked through.
6. Garnish with green onions and sesame seeds before serving.
Notes
For a gluten-free version, use tamari or coconut aminos instead of soy sauce. For extra sticky glaze, remove the lid for the last 2 minutes of cooking.